Showing posts with label bread. Show all posts

Tuesday, March 10, 2015

Garlic Pull-Apart Rolls | Eggless garlic roll recipe


I have been making these garlic rolls for more than 3 years now and it is a huge hit at parties and potlucks. I avoid making breads and buns because of the efforts needed to knead the dough. However these are a breeze to make. The garlic pull apart rolls doesn't need kneading. It looks good, tastes good and you get compliments for making these. What else do you need? Hope I inspired you guys to try them at home. If I can, I am sure you all can too.

Preparation Time: 5 mins
Baking Time: 25-30 mins
Makes : 16 rolls
Recipe Source: MySingaporeKitchen


Ingredients:
AP flour | Maida: 3 cups
Active dry yeast: 1 tbsp, refer notes
Warm Water: 1 cup
Salt: 1 tsp
Sugar: 2 tbsp
Olive Oil: 2-3 tbsp

For the garlic spread:
Butter: 1 stick, refer notes
Garlic cloves: 4 large or 1 small lobe
Salt: As needed, refer notes
Coriander leaves: 3-4 tbsp

Other ingredients:
Sesame seeds: 1 tbsp, for garnish


Method:
Bring the butter to room temperature
First important thing is to proof the yeast.  Add salt, and sugar to the warm water and mix.
Sprinkle the yeast on the warm water and gently mix. Keep the yeast mixture aside on a warm place for 5-7 mins (I always keep it in my oven with the oven lights ON). The yeast will froth and become goo-ey.

Meantime, sieve the AP flour.
Add the frothy yeast mixture to the AP flour and mix well. I let my food processor do it for me.
Add a tbsp of olive oil and knead for 2-3 mins (just like you knead the atta to make chapathi).
Coat the oil on the dough and cover it with a damp kitchen towel. Keep the covered dough in a warm place for 1 hour. The dough would have doubled in 60 mins.

During the dough resting time, prepare the garlic spread. Mash the room temperature butter well.
Grate the garlic cloves and add the grated garlic, salt (refer notes), coriander leaves to the mashed butter. Mix in well and let it rest.

After the dough has doubled, remove the damp kitchen towel and punch the dough back. Divide the dough into 4 equal parts.


Take one of the dough balls, dust the kitchen table and start rolling the dough.
Make a slightly rectangular shape (about 6-8 inches long).
Take about 1 tbsp of garlic spread and spread it over the rolled dough. Roll it and cut them into 4 equal sizes.

Place the rolls on a greased baking tray. Keep the rolls 1/2 inch apart from each other. The dough will rise again and will stick to each other.

Repeat the same procedure with the remaining dough balls. You will get 16 rolls. Spread the garlic butter on top of the rolls. Garnish with sesame seeds (optional) and allow the rolls to rise again for 30 mins.
After 20 mins of resting, preheat the oven to 350F or 180C.
Bake the rolls for 25-30 mins. Keep a close watch after 20 mins. The rolls will start turning golden brown..
Allow the rolls to cool for 20-30 mins and dig in!!


Notes:
Yeast plays an important role to make any bread. So, it is very important to proof the yeast first. If the yeast doesn't become frothy, start it all over again or get a new batch of yeast.
I keep my yeast in the freezer for up to couple of years without any issue.
You could use about 2 tsp of yeast and allow it to rise for 1.5 or more hours.
Use about 100 grams  or 1/4 cup of softened butter. If you use salted butter to make the garlic spread, do not use additional salt. I normally use unsalted butter, hence add about 1/2 tsp of salt to make the spread.


Tuesday, February 26, 2013

Aloo Sandwich | Potato Sandwich

Potato sandwiches are a great option for weekend brunch or weekday dinner.These are our current favorite! I pack them for my hubby's lunch too. These are quick to make & quite filling.


Preparation Time: 20 mins
Cooking Time: 15 mins
Adapted from: Manjula's Kitchen


Ingredients: (Makes 3 sandwiches)
Bread: 6 slices (I used Aunt Millies Potato Bread)
Melted butter: 1 tbsp
Boiled & mashed potatoes: 2 cups
Salt: As needed
Chopped coriander leaves: 2 tbsp
Chili powder: 1/2 tsp
Lemon juice: 1 tsp
Cumin seeds: 1 tsp
Cheese slices : 3 nos (I used grated Cheddar & Mozzarella Cheese)


Method:
Mash the potatoes thoroughly. Add in the coriander leaves, chili powder, lemon juice, cumin seeds, and salt to the potatoes & mix well.

Heat the tava/griddle.
Take 1.5 to 2 tablespoon of potato mixture & spread the mixture onto the bread. Press the mixture hard onto the bread. The potato mixture should stick to the bread.

Do the same on the other slice too.
Smear the butter over the potato spread.
Place both the slices of bread on the griddle (Potato spread should be facing down).

Cook on medium heat until the potatoes are cooked & turn crisp.

Flip one slice of bread. Add in the cheese & cover it with the other slice.

Cook again on both the sides till the sandwich turns golden brown.

Make two more sandwiches similarly.
Serve them hot with a dip/green chutney or tamarind chutney.


Notes:

  • Along with the cheese, you could add slices of tomato, cooked beets slice, and a slice of paneer(cottage cheese) too. I often add paneer to this. It tastes great!
  • The potato mixture is very flexible. You could play with a lot of flavors. I have tried adding carom seeds/ajwain instead of cumin seeds. I do add jalapenos for the extra kick sometime.
  • The above ingredients & recipe is just to give an idea. You could use your imagination to build your own grilled potato sandwich.

Tuesday, December 18, 2012

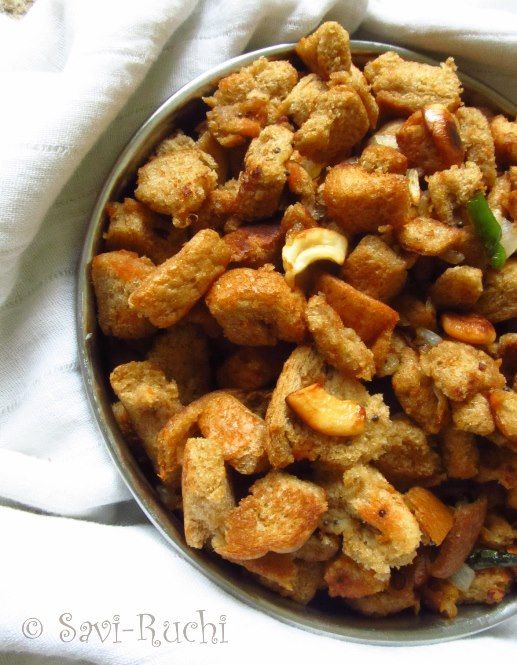
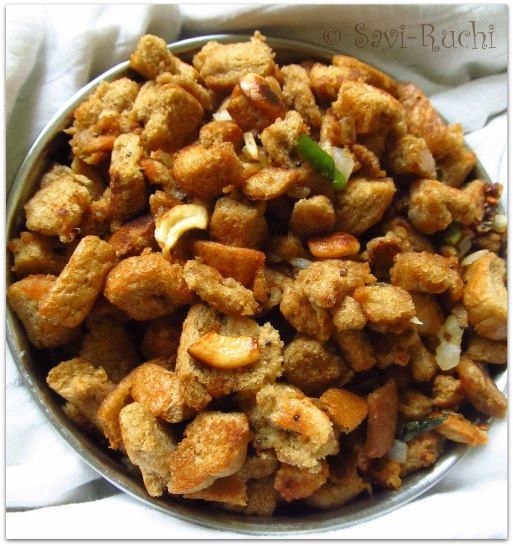
Bread Oggarane | Bread Upma

It often makes me think, how was life before my kid? Though, he is just six, I feel he is with me forever. I have enjoyed my share of childhood days, teenage days, newly-wed days, but now life completely revolves around my kid. All mothers out there agree with me & all other women will realize this as soon as they have their own kid! I enjoy being a mother, but sometimes the kid in me wants to do what I love to do. On one such day, I made my childhood favorite "bread oggarane" for lunch & relished it thoroughly.


Preparation Time: 5 mins
Cooking Time: 10 mins
Serves: 1-2

Ingredients:
  • Whole wheat bread slices: 6-8 nos
  • Onion: 1 medium sized, finely chopped
  • Green chillies: 3 nos, sliced
  • Cooking oil: 1 tbsp
  • Mustard seeds: 1/2 tsp
  • Curry leaves: 4-6 nos, torn
  • Cashew nuts: 1 tbsp, coarsely crushed
  • Tomato ketchup: 1 tbsp
  • Salt: As needed

Method:
Chop the bread slices into 1 cm cubes. Refer notes below.
Heat oil in a broad wok. When oil is hot, throw in the mustard seeds & cashew nuts.
When nuts turn golden brown, add in the green chilies & curry leaves.
When curry leaves wilt, throw in the finely chopped onion & saute.
Cook the onions till they are soft & translucent. No need to brown the onions.
Add the chopped bread pieces, salt, tomato ketchup & mix them thoroughly.
Increase the heat to medium-high & toss until the bread pieces slightly change the color.
Remove from heat & serve immediately.


Notes:
  • I normally do not trim the edges of the bread. Feel free to trim the edges, if needed.
  • This is a very basic bread upma recipe. You could add veggies like bell peppers, green peas, cooked potato to make it healthier.

Tuesday, August 28, 2012

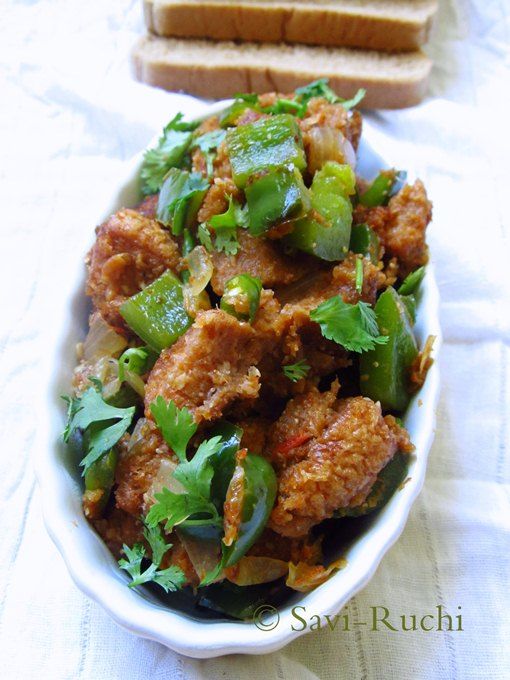
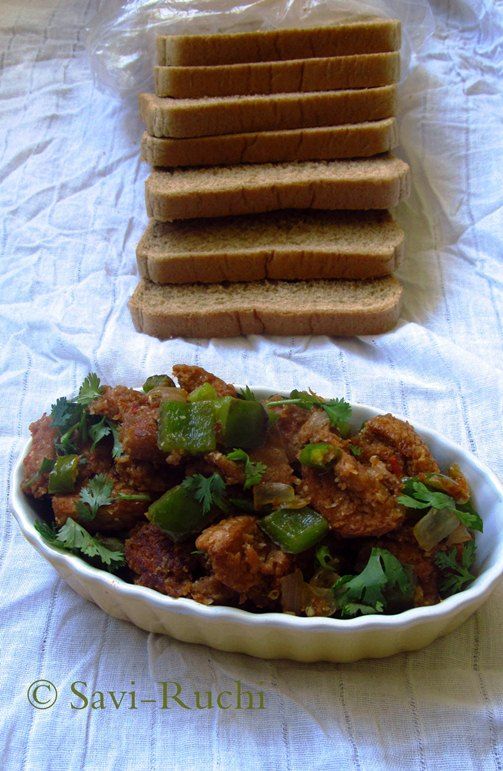
Bread Chilli in Chilli Parotta Style with step-by-step pictures!

We all know that it is not good to skip the breakfast. Even then, some of us miss it.I too was having minimal/no breakfast days. Thanks to my son's long summer holidays, I am not missing it anymore! I make elaborate breakfast for us & during one of the days, I made this bread chilli with the left over bread :)

My son coined the name bread chilli. Though he found it little spicy, he loved it to the core. He was sipping the water every other bite but never wanted to say "no" to it :)


Preparation Time: 15 mins
Cooking Time: 15 mins
Serves: Me & my six year old ;)

Recipe Source: Loosely adapted from Cookery Corner

Ingredients:
For the bread chilli:

  • Bread slices: 8 nos, I used wheat bread.
  • Capsicum: 1/4th cup, cubed
  • Onion: 1/4th cup, cubed
  • Ginger-garlic paste: 1/2 tsp
  • Green chillies: 4 nos, sliced
  • Oil: 1.5 tbsp
  • Salt: As needed


For the spice paste:

  • Oil: 1 tbsp
  • Onion: 1 , small sized (around 1/3rd cup)
  • Tomato: 1, medium sized
  • Khus-khus/Poppy seeds: 1 tsp
  • Cashew nuts: 1 tsp or 5-6 nos
  • Coriander powder: 1/2 tsp
  • Red chilli powder: 1 tsp
  • Garam masala: 1/2 tsp
  • Salt: 1/2 tsp


For the garnish:

  • Coriander leaves/cilantro: 1 tbsp, finely chopped


Method:
For the spice paste:
Roughly chop the onion & tomato. Keep it aside.
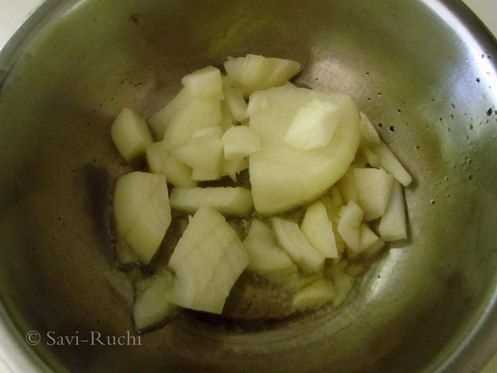
Heat oil in a medium sized pan. When oil is hot, throw in the onions.

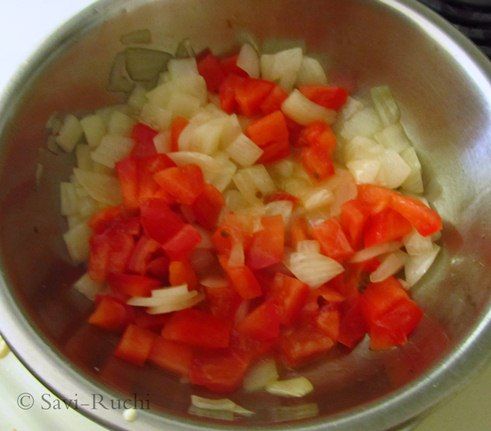
Saute till the onion become transparent. Add in the tomatoes & saute till tomatoes become soft.

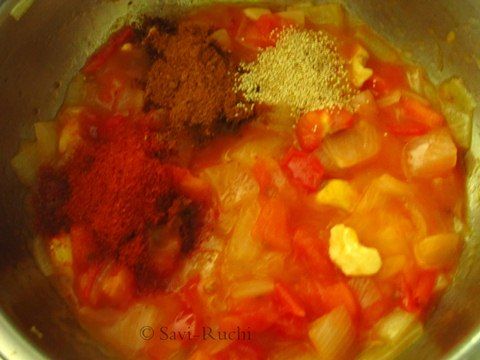
Add the poppy seeds, cashew nuts, coriander powder, red chilli powder, garam masala, salt & mix thoroughly.
 Cook on a medium heat for a couple of minutes. Let the mixture cool.
Once the mixture is cool, make a smooth paste out of it by adding couple of teaspoons of water. Scoop out the spice paste & keep it aside.

Toast the bread (either on a griddle or toaster). Cut them into 1/2 inch cubes & keep aside.

For bread chilli:
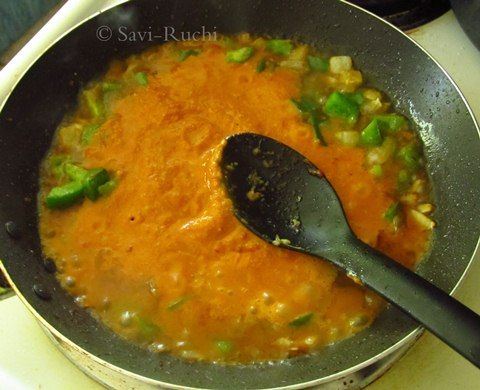
Heat oil in a broad wok. Once oil is hot, throw in the onion & ginger-garlic paste. Toss on a medium-high heat.

When the onion turns golden brown, add in the capsicum & green chillies. Saute on high heat.
Add in the spice paste, salt & saute again. Add couple of tablespoons of water,if needed.
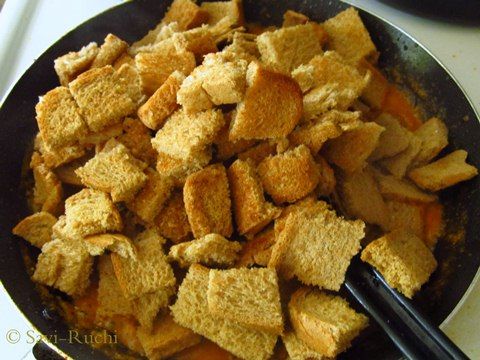
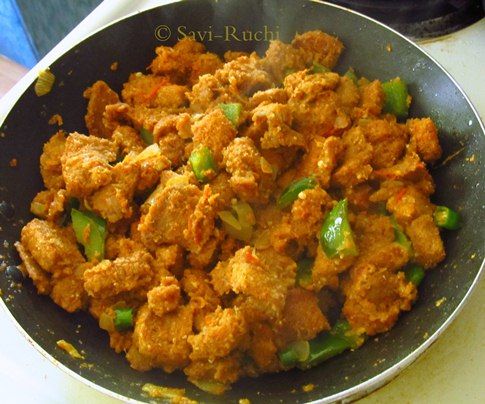
Throw in the cut bread slices & toss well. Toss the bread on medium-high for couple of minutes.
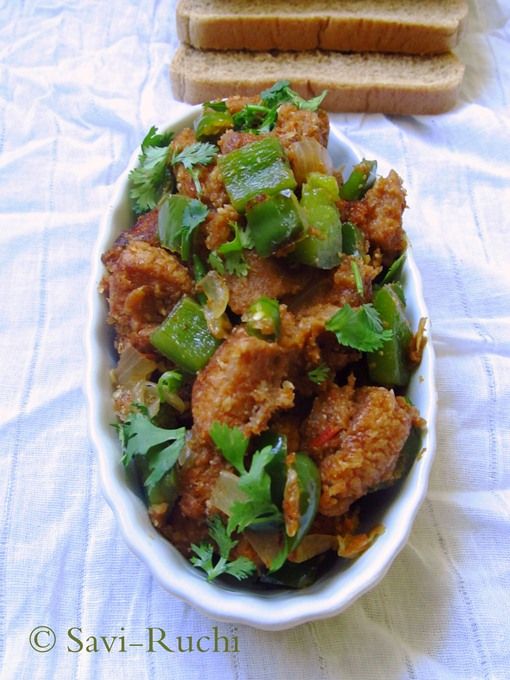
Turn off the heat, garnish with coriander leaves & enjoy!

Notes:

  • It is important to toss the onion, capsicum & bread on medium-high heat.
  • Remember we added salt while making the spice paste. So, adjust the salt accordingly.
  • This dish could be garnished with spring onion greens too. 

Monday, July 9, 2012

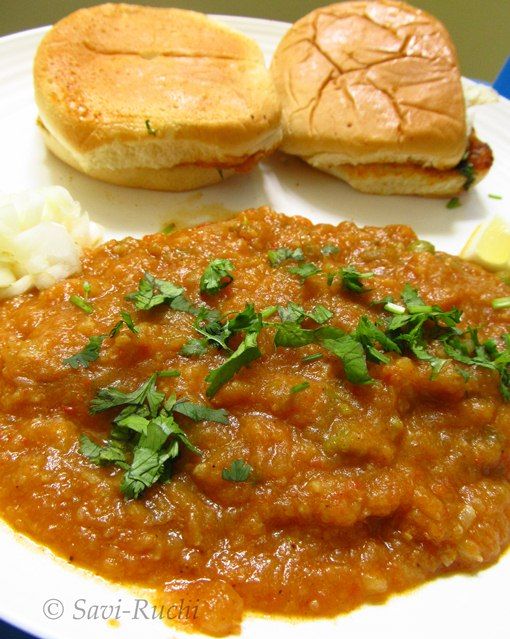
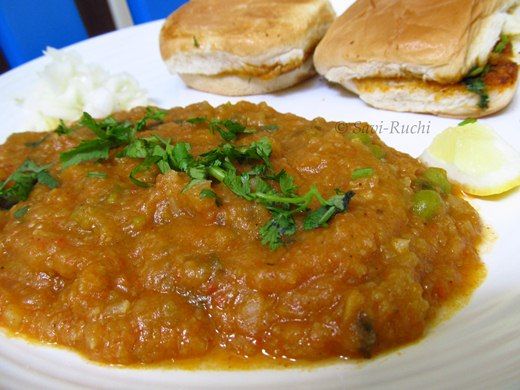
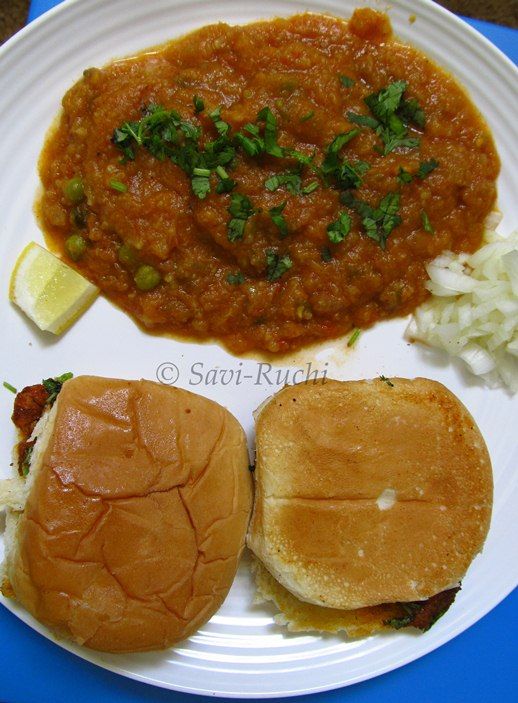
Pav Bhaji: A Mumbai Street Food with step-by-step photos

I have memories of my teenage days attached with this dish. No, I was neither born & brought up in Mumbai nor spent even a month in Mumbai. To set the record straight, I have not even tasted Pav Bhaji on the streets of Mumbai!

During my high school & Pre University days, I and my cousins used to eat masala puri, paani puri, pav bhaji at my town. I did not know how authentic it used to be but honestly never bothered about it! One blue moon day when I went to grocery shopping with my father, I noticed pav bhaji masala. I persuaded my father to buy it for me. He double checked the ingredients (as my mom, grandmom, father are " no" to garlic too!) & finally bought it for me. So, pav bhaji might be my first experiment in the kitchen during my late high school days (of course after maggi!).

I used to follow the pav bhaji recipe as found on the side of pav bhaji masala packet. Later, I started fine tuning it according to our tastes. I have been making pav bhaji from almost 15 years now. Now, I feel I can make a decent pav bhaji. I am still not sure whether it is an authentic recipe or not :)


Preparation Time: 20 mins
Cooking Time: 45 mins

Ingredients: (Serves 5-6)
For the bhaji:
Potatoes: 2 nos, medium sized
Cauliflower: 250 gms
Green peas: A fistful
Carrot: 1 small
Tomato puree: About 2 to 2.5 cups
Onion: 2 tbsp, finely chopped
Capsicum: 2-3 tbsp, finely chopped
Ginger garlic paste: 1.5 tsp
Green chillies: 2 nos, finely chopped
Chilli powder: 1 to 1.5 tsp
Pav bhaji masala: 2 tbsp
Turmeric powder: a big pinch
Oil: 1 tbsp
Butter: 1 tbsp
Salt: According to taste

For the garnish:
Coriander leaves: 3 tbsp, finely chopped
Lemon juice: 1 tbsp

For serving:
Pav/Dinner rolls: 12-16 nos
Lemon wedges
Finely chopped onion
a blob of butter
coriander leaves


Method
For the bhaji:
Roughly chop the potatoes, cauliflower, & carrot. Add half a cup of water & 1/2 tsp of salt to the potatoes, cauliflower, carrot and peas. Pressure cook the veggies for 2 whistles.
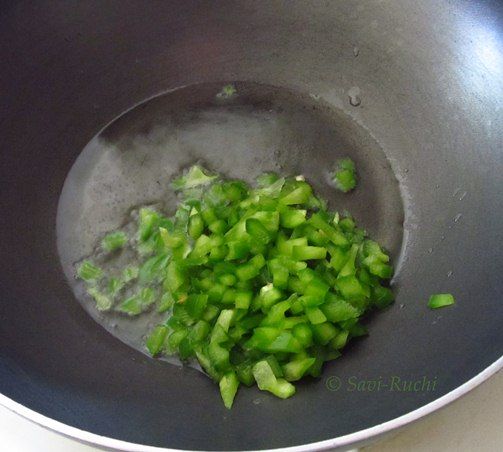
Meantime, take a broad pan. Heat oil in the pan. When the oil is hot, throw in the capsicum & saute for a minute.

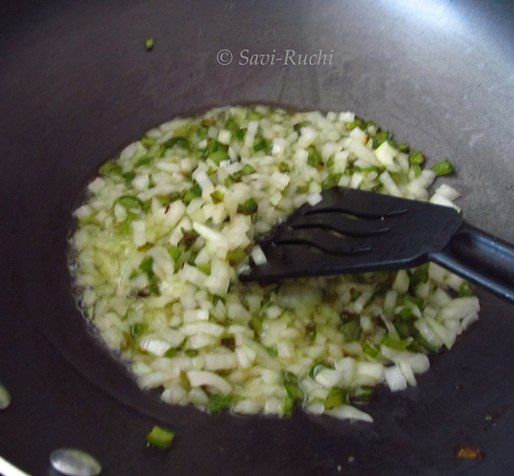
Add the onions & saute until the onions are soft.

Add the ginger-garlic paste, green chillies & saute till the raw smell of the paste is gone (about a couple of minutes).


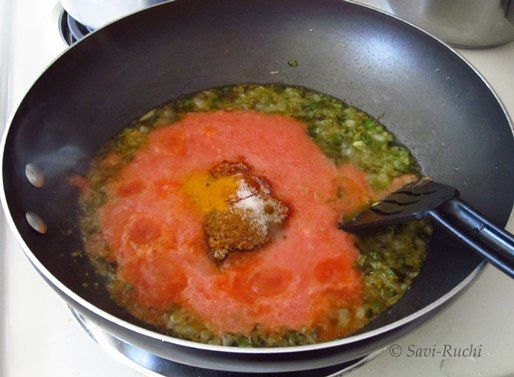
Add the tomato puree, turmeric, salt & red chilli powder. Allow it to boil for about 5 minutes on medium heat. The mixture starts spluttering, so keep a lid 3/4th covered.


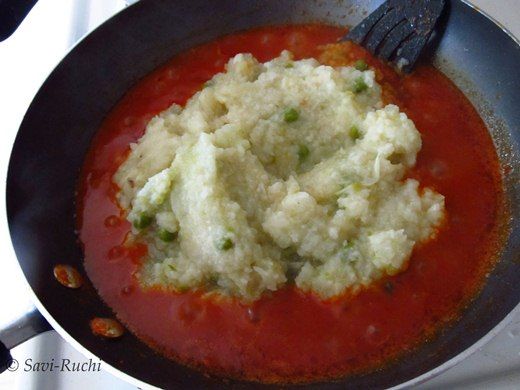
Meantime, thoroughly mash the vegetables cooked in the pressure cooker.


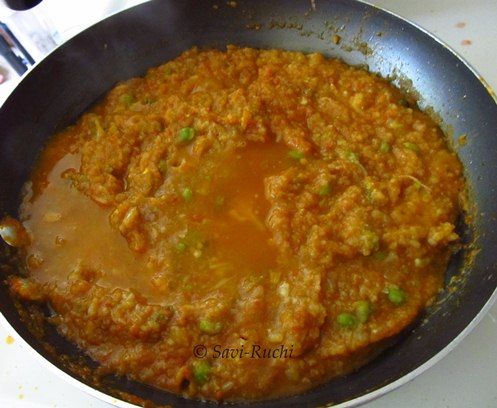
Add the mashed vegetables, pav bhaji masala, half a cup of water & continue mashing, cooking & stirring it. The mixture keeps spluttering all over. So, it is better you handle it with a mitt.


Add the butter & keep mashing the mixture.

Finally add coriander leaves, lemon juice & mash it for another couple of minutes.

Heating the pav/dinner rolls:
Cut the pav in half.
Add a teaspoon of butter onto a griddle. Srinkle some pav bhaji masala, coriander leaves on the butter.
Place the pav on the butter & let it get roasted for 30 secs. Flip the pav & roast the other side too.

Serving:
Pour around 1/4th cup or more of bhaji on a plate. Sprinkle coriander leaves on the bhaji. A blob of butter on the bhaji.
Put around a tablespoon or more of finely chopped onion onto the serving plate. Place a lemon wedge.
Finally add the buttered & hot pav to the plate & dig in!


Notes:
  • One should not be able to find the vegetables that go in the bhaji. It needs to be thoroughly mashed. 
  • Be ready to clean the kitchen counter after the bhaji is done, since the bhaji splutters a lot. Be careful while mashing the bhaji too.
  • The bhaji needs to be spicy, tangy & buttery!
  • I have not added any food color to this. So, this is the color you get after cooking the bhaji :)

Tuesday, June 21, 2011

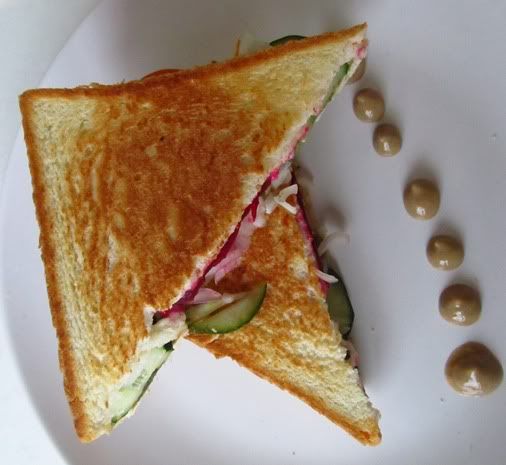
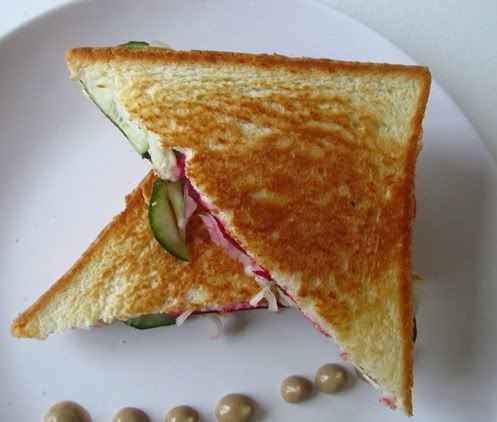
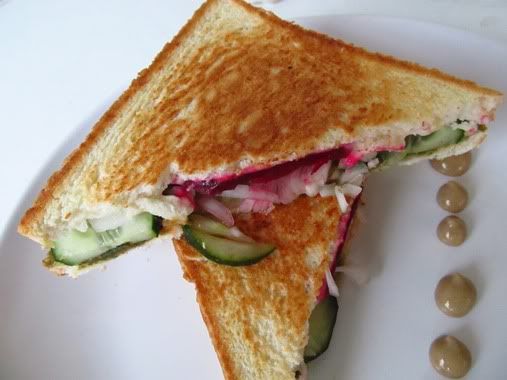
Everyday sandwich: For a healthier you.

Off-late I am trying out a lot of sandwiches. Here is one such sandwich I prepare. I got this recipe from the Sanjeev Kapoor's Khana Khazana! Made few modifications according to the ingredients what I had handy.

Here is the recipe for you.

Preparation time: 10mins
Cooking time: 5-7mins
Serves: 2

Ingredients: (Makes 4 sandwiches)
Sandwich bread slices: 8 nos (Use any bread of your choice. I have used white bread here)
Sliced cucumber
Sliced tomatoes
Boiled & sliced beetroot (optional)
Sliced onions,
A slice of cheese for each sandwich
Salt & pepper for seasoning
Butter: 1 tsp, for each sandwich

For the spread:
Green chutney: 1 tsp*
Tomato ketchup: 1 tsp*
*For each sandwich 


Method:

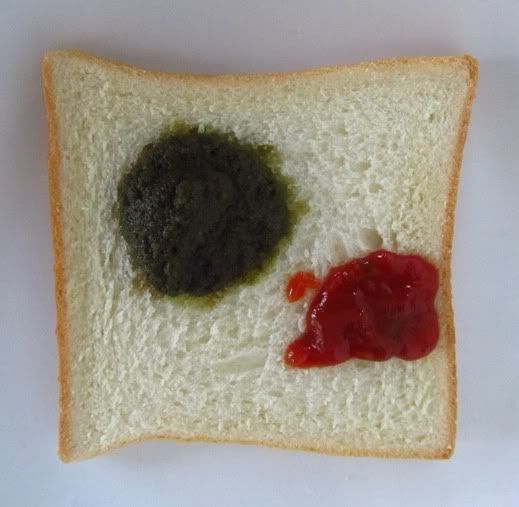
  • Take a slice of bread, add the green chutney & the tomato ketchup. Spread both of them evenly on the bread.

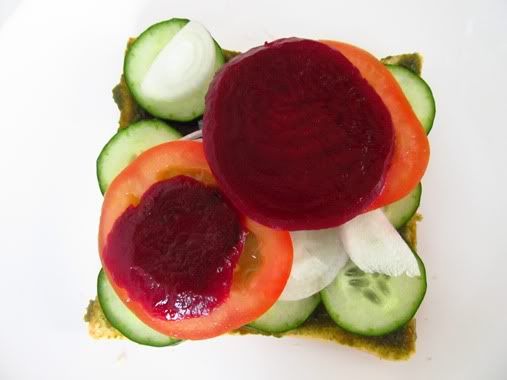
  • Top it up with the sliced vegetables of your choice. Sprinkle the salt & the pepper over the vegetables.

  • Add a cheese slice.
  • Cover it up with another slice of bread. 
  • Add around a tsp of butter to the griddle/tava/tawa or griller. Place the sandwich over the butter & cook it on a medium-low heat on both sides until golden brown. 
  • Remove from the griddle. Serve it hot with a dip of your choice. Enjoy!


Notes:
Feel free to use any vegetable of your choice. I have added carrots, capsicum, raddish & many more to this basic sandwich recipe.
You can find the green chutney recipe here.

Featured Post

Noodles and Vegetables with Honey Ginger Sauce

Am I the only one who crave for noodles when sick with cold and sore throat? I love this noodles with honey-ginger sauce and it is perfe...