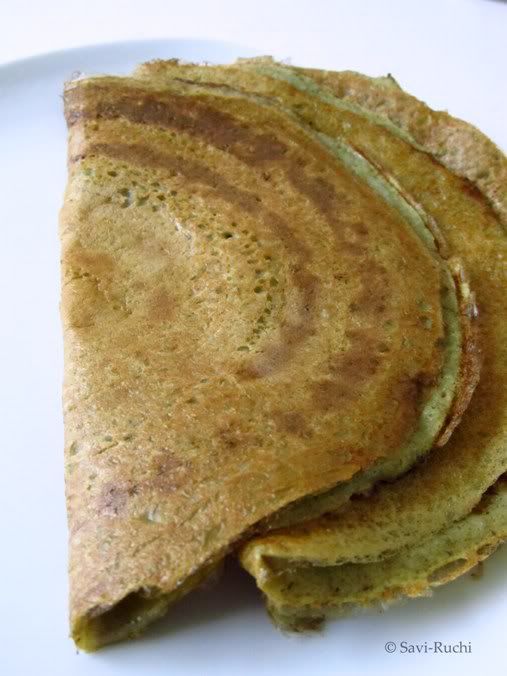
This is a dish that has all my favorite ingredients & I would love to eat it any time of the day!

Preparation time: 15mins
Cooking time: Around 45-50 mins
Serves: 4-6 adults
Recipe Source: Adapted from Enjoy Indian Food.
Ingredients:
Basmati rice: 1.5 cups
De husked & split green gram/Moong dal: 1 cup
Yogurt/Curd: 1 cup
Salt:According to taste
Potatoes: 1 medium sized, cut into strips or cubes
Carrot: 1 small, cut into strips or cubes
Green peas: 1 fistful
Shallots/Sambar onion: 6-8 nos, coarsely chopped
Roasted coriander-cumin seeds powder: 1 tsp
Pepper powder: 1/2 tsp
Turmeric powder: 1/2 tsp
Salt: According to taste
Water: 8 cups (We like our khichdi mushy!)
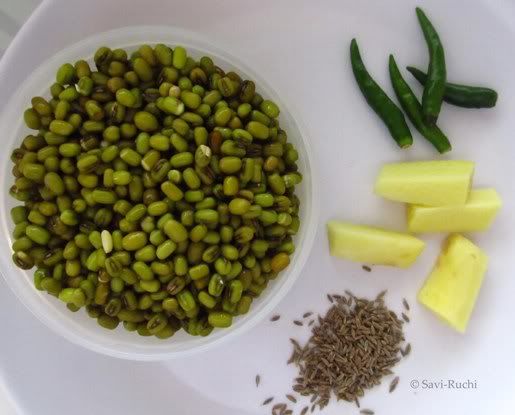
Green chillies: 4 nos
Ginger: 1 inch piece
Garlic: 1 small pod, optional
Grated coconut: 2 tbsp, fresh or frozen
Water: 2-3 tbsp
For tempering:
Ghee/Clarified butter: 1 tbsp
Cumin seeds: 1.5 tsp
Bay leaf: 1 no
 Method:

Notes:
I am never satisfied with the pressure cooker method of preparing khichdi. I always cook khichdi using the stove top method. Though stove top method takes about an hour to cook, the final result is simply WOW!
Preparation time: 15mins
Cooking time: Around 45-50 mins
Serves: 4-6 adults
Recipe Source: Adapted from Enjoy Indian Food.
Ingredients:
Basmati rice: 1.5 cups
De husked & split green gram/Moong dal: 1 cup
Yogurt/Curd: 1 cup
Salt:According to taste
Potatoes: 1 medium sized, cut into strips or cubes
Carrot: 1 small, cut into strips or cubes
Green peas: 1 fistful
Shallots/Sambar onion: 6-8 nos, coarsely chopped
Roasted coriander-cumin seeds powder: 1 tsp
Pepper powder: 1/2 tsp
Turmeric powder: 1/2 tsp
Salt: According to taste
Water: 8 cups (We like our khichdi mushy!)
For green paste:
Coriander leaves: 1/2 cupGreen chillies: 4 nos
Ginger: 1 inch piece
Garlic: 1 small pod, optional
Grated coconut: 2 tbsp, fresh or frozen
Water: 2-3 tbsp
For tempering:
Ghee/Clarified butter: 1 tbsp
Cumin seeds: 1.5 tsp
Bay leaf: 1 no
- Wash the dal thoroughly & soak them in water for 30mins.
- Whisk the yogurt & keep aside.
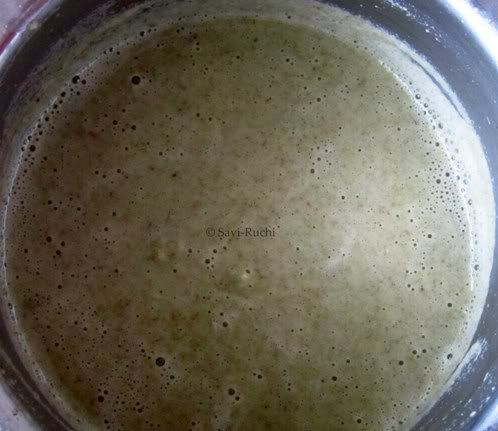
- Meantime, make a fine paste of the ingredients mentioned under the green paste section.
- Heat a thick bottom saucepan or utensil. Add ghee. When ghee becomes hot, add cumin seeds. When seeds turn brown, add bay leaf.
- Pour the green paste to the pan & stir well.
- Add the turmeric, pepper powder, coriander-cumin powder to the green paste & stir.
- Add the yogurt & mix well.
- Drain the water from the dal & add it to the yogurt mixture.
- Throw in the chopped potatoes, carrots, shallots & peas.
- Add the water & allow the dal to boil & cook on a medium-high heat.
- Meantime, wash the rice thoroughly & soak them in water for 15mins.
- Because of the addition of yogurt, the lentil/dal takes a long time to cook. Stir the mixture once a while to ensure dal doesn't stick to the pan.
- When dal gets 3/4th cooked((It takes around 20-25mins for lentil to get 3/4th cooked), add the soaked rice & continue cooking.
- When the rice gets cooked (soft yet firm), add the salt. Mix well.
- Reduce the heat to medium-low & continue cooking until the khichdi becomes a little mushy (like a porridge).
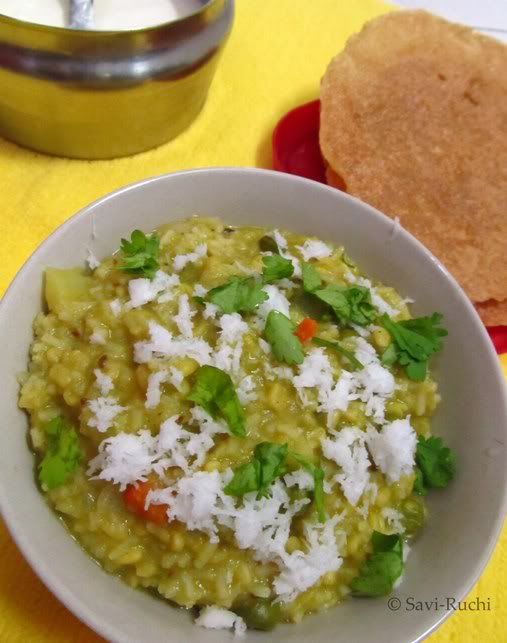
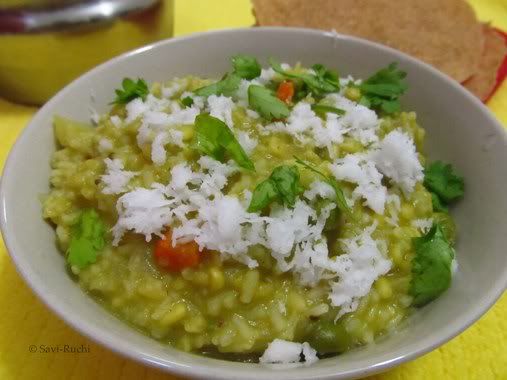
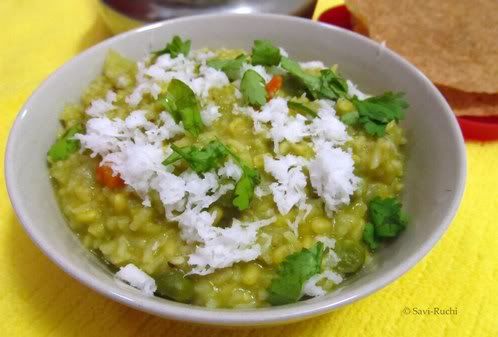
- Turn off the heat & garnesh it with coriander leaves & grated coconut (completely optional).
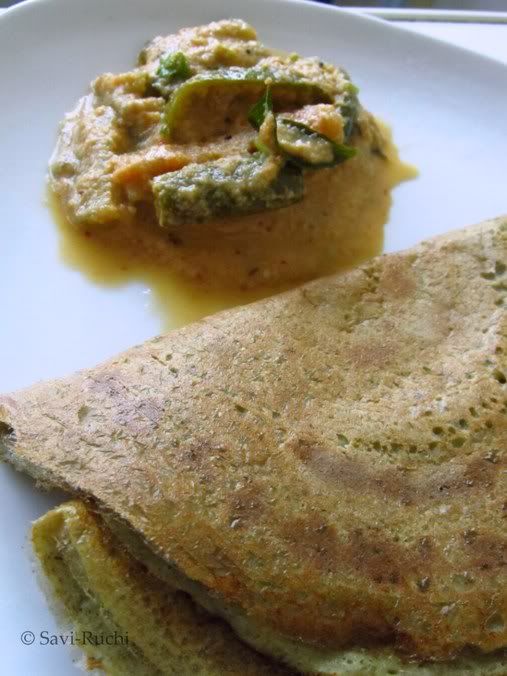
- Serve it hot with a raita or kadhi or plain yogurt/curd & papad.
Notes:
- If you feel, water is insufficient for the khichdi, add hot water in between while the rice & the dal mixture is getting cooked. However do not add hot water when the dal & rice is completely cooked.
- If your family doesn't prefer garlic, you could omit it.
- Cooking the khichdi on a stove top takes 2-3 times more time than the pressure cooker method.
- If you are in a hurry, you could pressure cook it once a while, but I recommend preparing it without the pressure cooker.
- Do not try to reduce the yogurt as it is the highlight of the dish.
- Do not use butter milk, use store bought or home made plain & fresh yogurt. Sour yogurt is not recommended.