Showing posts with label Indian sweets. Show all posts

Wednesday, January 14, 2015

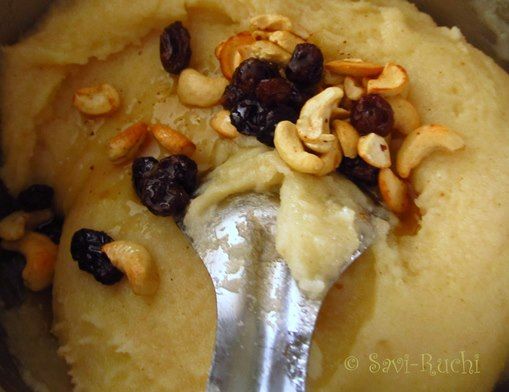
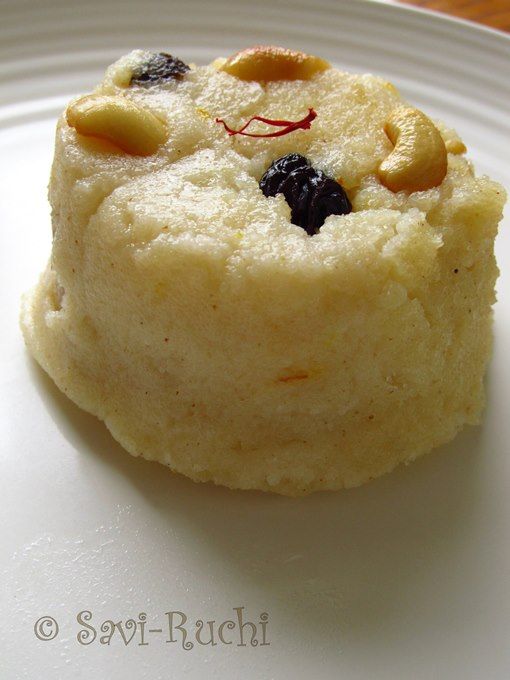
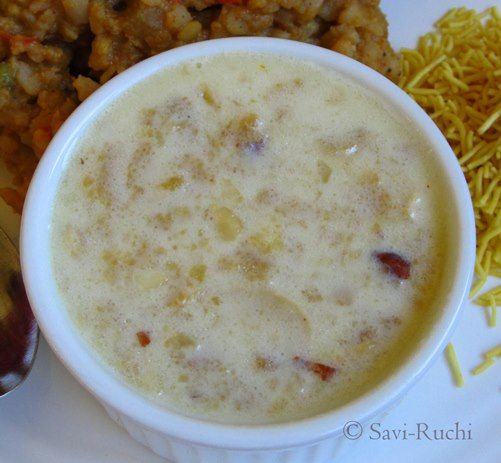
Banana Huggi Recipe | Banana Pongal : Unique pongal recipe

Wishing all of you a very happy Makara Sankranti | Pongal | Lohri.
 

 Did I mention before that we are moving again? Hold on.., this time we are moving to another house near by and not to another Country. I have made good friends here at my apartment and am definitely gonna miss them. Banana pongal is one of the recipes that I learnt from my friend here. I am planning to get as many recipes possible from her and try before I move. Keep watching this space, there's more coming :)


The color of the pongal will be anywhere from light brown to very dark brown depending on the type of jaggery used. However, the color does not alter the taste of the pongal in any ways.

Other pongal recipes 
Khara Pongal

Preparation Time: 10 mins
Cooking Time: 40 mins
Serves: 3-4


Ingredients:
Raw rice: 1/2 cup, refer notes
Water: 1 cup,
Banana: 1 medium sized, refer notes

Jaggery | Brown sugar: 1/2 cup, refer notes
Water: 1/4 cup, more or less
Ghee | Clarified butter: 3 tbsp + 2 tsp
Grated coconut: 1 tbsp, fresh or frozen
Cardamom powder: a pinch
Cashew nuts: 1/2 tsp
Chopped almonds: 1/2 tsp
Raisins: 1/2 tsp


Method:
Wash the rice thoroughly and let it soak for 30 mins.
Add the water to it. Pressure cook the rice for 4-5 whistles.Allow the cooker to cool for 10 mins.
Meantime, add water to the roughly pound jaggery and heat it on a medium heat.


When the jaggery is dissolved in water, strain the jaggery water. (Refer notes below)
Put the water back in the same sauce pan and bring it to a boil.
Mash the cooked rice.
When water starts boiling, add the cooked rice to it and mix well. Add 2 tbsp of ghee and allow the rice to cook again for 3-5 mins on low-medium heat.

Finely chop the banana and add the chopped banana to the rice mixture along with a tbsp of ghee.


Mix well and cook again for couple of mins.
Mash the bananas along with the rice and add the cardamom powder, grated coconut. Cook for 3-5 mins.

Meantime, heat about 2 tsp of ghee in a small sauce pan. When ghee is hot, throw in the chopped cashews and almonds.

When nuts turn golden brown, turn off the heat and add raisins. When raisins plump up, pour the nuts over the cooked pongal.


Mix well and serve it hot.


Notes:

  • Raw rice is preferred for the pongal. But, if you do not have it, you could make is using ponni or sona masoori rice (or any small grain rice). I suggest adding a little more water to the sona masoori rice as they dont turn soft or mushy easily. (My rice did end up grainy as you can see in the pictures. I did not have raw rice).
  • When the rice is still hot, mash the rice so that the huggi/pongal becomes mushy. 
  • A well ripened banana is what we need for this huggi. Do not use the green ones.
  • Our family prefers huggi to be sweeter. You could reduce the amount of jaggery to a little more than 1/4 cup (for the quantity mentioned above).
  • Jaggery has lot of impurities. Hence, it is advised to strain the jaggery water before making anything using jaggery.

Sunday, October 27, 2013

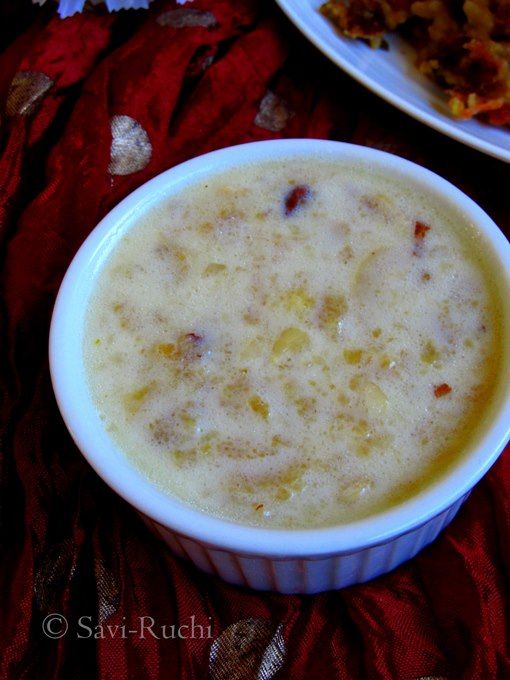
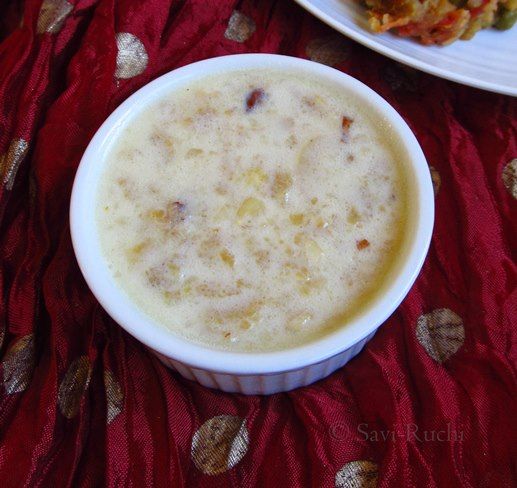
Vermicelli Sabudana Kheer | Seeme akki Payasa | Sago Payasam : Tapioca Pudding Recipe


sabudana kheer

Have no time for cooking ahead this Diwali? Then, you can try making some simple kheer | payasam like this one. This kheer doesn't need any fancy ingredient & can be cooked in about 30 mins max.

Here goes the recipe.

sabudana payasam

Preparation Time: 5 mins
Cooking Time: 20-25 mins
Soaking Time: About an hour.

sago kheer

Ingredients:
Sago | Sabudana | Seeme akki : 1/3 cup
Vermicelli | shavige : 2 tbsp
Milk: 2.5 cups, more or less
Water: 1 cup
Sugar: 1/2 cup
Cardamom powder: 1/4 tsp
Clarified butter/ghee: 1 tbsp
Raisins: 1 tsp
Broken cashews: 2 tsp
Slivered almonds: 1 tsp

sabbakki payasa

Method: 
Wash the sago thoroughly in running water. I recommend washing it at least 3 times until the starch is removed.
Soak the sago in enough water for 20 mins. Then drain the water completely from the sago.
Sprinkle 2-3 tsp of water over the drained sago & keep it covered for a minimum of 45 mins to an hour.

soaked sago pearls

Add the soaked sago to a sauce pan. Add water + 1 cup of milk to the sabudana.
Cook the sago on a medium heat (stirring in between) until they become transparent & soft. Takes about 10-13 mins.
Meantime, heat ghee in a small wok. When oil is hot, throw in the cashew nuts & almonds. When the nuts turn golden, add in the raisins. When raisins plump up, put the vermicelli to the ghee & saute till the vermicelli turn golden. This will not take more than 3-4 mins.

roasted vermicelli

Add the vermicelli + nuts mixture, remaining milk, cardamom powder to the cooked sago mixture & mix. Boil this mixture on a medium heat until the vermicelli is cooked.
Add the sugar & boil it for a couple of minutes more.Keep stirring in between.
Remove the sauce pan from the heat.
Let the kheer rest for 5-10 mins. Serve this kheer warm or cold.

seeme akki payasa

Notes:
  1. Rinsing the sago thoroughly in water removes the excessive starch. Too much starch will make the sago sticky & slimy. We want the sago pearls to be separate. 
  2. This kheer thickens as it gets cools. If it gets too thick & hard, add a cup of hot milk with 2 teaspoons of sugar. Mix it & serve immediately. 
  3. We prefer our kheer warm, hence I do not refrigerate it. If you want to serve it chilled as a pudding, reduce the sugar to 1/4 or 1/3 cup (as per you choice). We like our kheer more on the sweet side! 

Friday, October 11, 2013

Quick Gulab Jamun | Ricotta cheese gulab jamun | Diwali Sweets

A quick gulab jamun recipe using milk powder & ricotta cheese....

Gulab Jamun is a classic & a  traditional Indian sweet/dessert. It is deep fried milk balls soaked in rose essence sugar syrup. The mawa or thickened milk (similar to ricotta cheese) is deep fried in ghee (clarified butter) & dipped in the sugar syrup. If you have mawa (or khova) with you, making the gulab jamun is a breeze. As it is not easy to get mawa here, I always make the gulab jamuns using the milk powder. This time around, I thought of adding ricotta cheese as I had them in my pantry. They were yummy & hence sharing the recipe with you guys.
Why don't you guys give it a try during this Diwali? I'm sure it will be a hit.

gulab jamun

Preparation Time: 10 mins
Cooking Time: 20 mins
Resting time: About an hour

quick gulab jamun recipe

Ingredients: (Makes about 30-35 jamun)
For the cheese balls/milk balls/jamun:
Ricotta cheese: 1/4 cup
Mawa powder or Milk powder: 1 cup (refer notes)
AP flour/Maida: 1/4 cup
Baking powder: 1/4 tsp
Ghee: 1 tsp
Water: As needed

About 2 cups of oil for deep frying the jamuns

For the sugar syrup:
Sugar: 1.5 cups
Water: 1.5 cups
Rose essence: few drops
Cardamom powder: a pinch
Lemon juice: 1/4 tsp

spongy julab jamun

Method:
Add all the ingredients mentioned under the cheese ball section (except water) in a bowl & give it a mix.
Slowly add a tbsp of water at a time to make a soft and non sticky dough. You will not need more than 3-4 tbsp of water. Never knead the dough.


gulab_jamun_dough
Keep the dough covered for about 15 mins.
Meantime, prepare the sugar syrup. Add the water & sugar in a sauce pan. Add the lemon juice, rose essence, cardamom powder to the water. Heat on a low-medium heat. Keep stirring to ensure the sugar is dissolved completely.
sugar syrup for jamun

Increase the heat to medium & boil it for 12-15 mins until you get a sticky consistency syrup(1/2 thread consistency).
Remove the syrup from the heat.
sugar syrup ready

Heat the oil in a medium wok.
Make marble sized balls of the dough. Make the balls smooth, else the dough balls will crack while they are getting fried. I got about 28 dough balls.


Add a small pinch of dough to the oil. If the dough settles in the bottom for few seconds only & then rises up, the oil is at right temperature. Oil should not be hot, when we fry these dough balls. They need to get cooked evenly. Add the dough balls to the oil & fry them on low-medium heat for about 5-7 mins. Do not touch the dough balls. Instead keep moving the oil to ensure even cooking & coloring of the balls.

deep frying the dough balls

Once they are golden brown, drain the fried balls on a paper towel & repeat the above procedure with the remaining dough balls.
deep fried gulab jamun
Add the warm deep fried balls to the sugar syrup & cover it with the lid.
Rest it for a minimum of 30 mins. Allow the deep fried balls to soak the sugar syrup.
Serve it warm, cold or hot.


jamun

Notes: 
  • I always use the mava powder or the milk powder available at the Indian stores. You could easily find the mava powder at the Indian stores anywhere. 
  • It is important to shape the dough balls smooth & without any cracks. If there are cracks, then the gulab jamuns will disintegrate in the sugar syrup. 
  • You could smear a drop of ghee to you palm for shaping the dough balls. 
  • I'm repeating again. Do not deep fry the dough balls on high heat & also in very hot oil. The dough balls get browned quickly & is uncooked in the center. They become very hard & the deep fried dough balls will not absorb the sugar syrup. 
  • You should never knead the gulab jamun dough. You need to mix it gently & make a dough. 
  • Traditionally gulab jamuns are deep fried in ghee (clarified butter). If you wish, you could deep fry in ghee too. 
  • I have added water to make the dough. You could replace water with milk. I have made them with milk before. Both taste equally good. 
  • You could replace baking powder with baking soda too. If you are adding baking soda, add less than 1/4th tsp (may be about 1/8th tsp). Do not add too much baking powder or soda. If soda is more, the dough balls will disintegrate in oil. I have made that mistake once & all the efforts went waste.

Friday, January 25, 2013

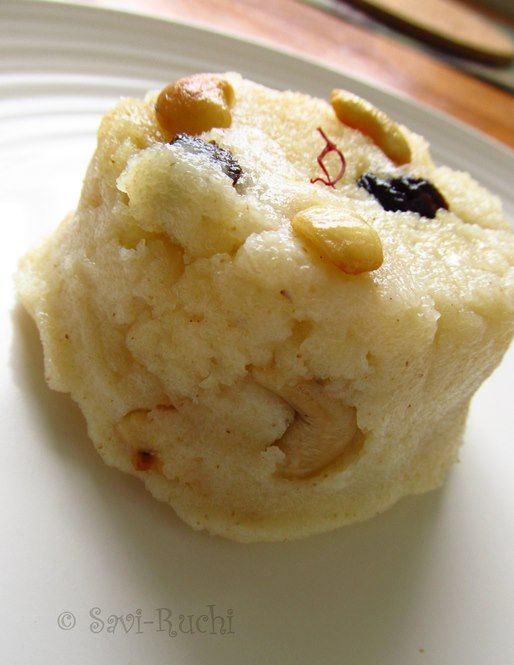
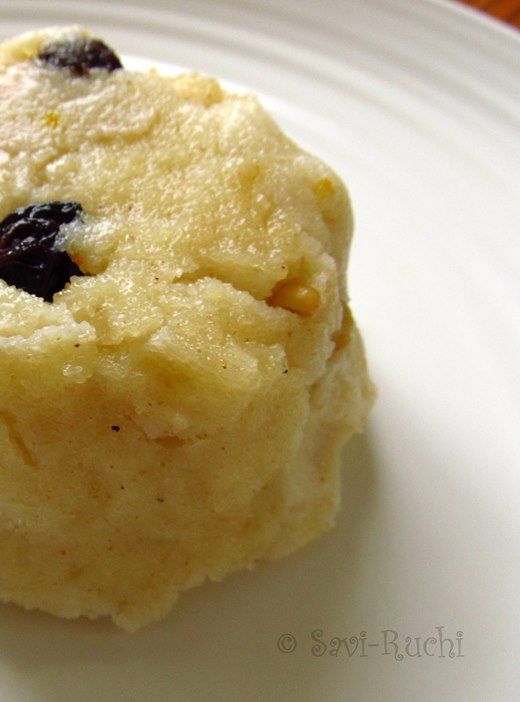
Sajjige | Cream of wheat pudding | Sheera

Sun is playing hide & seek from the last couple of months. In fact, I hardly saw him in this period. To add to it, the days are extremely short. All these things add to "not so good quality pictures". I have 20+ recipes along with the pictures waiting in the draft. Since, I am not happy with the pictures I am waiting to make them again, retake the pictures & then share the recipe.

Sajjige is a very simple & quick pudding. Sajjige along with the mashed banana is served as a prasadam/neivedyam/bhog/offering on Satyanarayan Pooja. The recipe calls for just four ingredients...., milk, sugar, ghee (loads of) & cream of wheat. But, you could add other ingredients for flavoring & garnishing the main dish :)


Preparation Time: 10 mins
Cooking Time: 10-15 mins

Ingredients:
  • Cream of wheat/Fine Rawa/Chiroti Rawa: 1 cup
  • Milk: 3 cups (I use 2% milk)
  • Sugar: 3/4th cup*
  • Ghee/Clarified Butter: 1/3 cup, divided use
  • Saffron: a pinch
  • Cardamom powder: a big pinch
For the garnish:
  • Ghee: 1 tbsp
  • Cashew nuts: 1 tbsp
  • Raisins: 1 tbsp


Method:
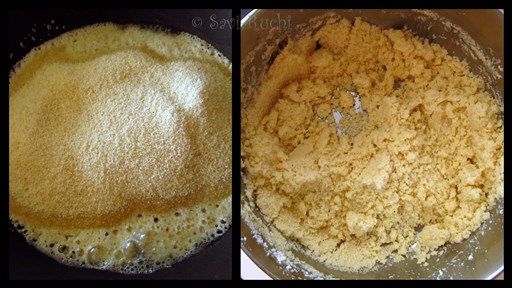
Heat 1/4th cup of ghee in a broad pan. When ghee is hot, pour in the cream of wheat.
Keeping the heat in medium, saute the cream of wheat for 6-8 mins. Keep stirring the cream of wheat to ensure even roasting of the rawa.

Meantime, start heating the milk.
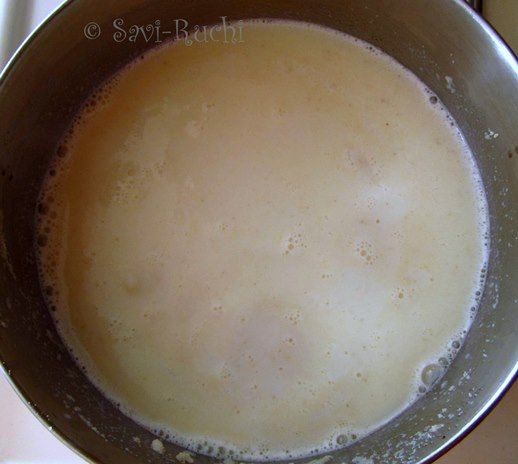
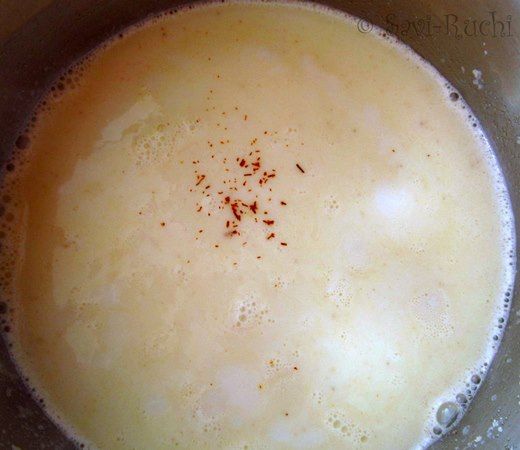
Once the aroma of the roasted rava fills the kitchen, pour the hot milk over the roasted cream of wheat. Mix well.

Throw in the saffron strands & let the cream of wheat cook on a low-medium heat.

In 3-5 mins, the cream of wheat will absorb all the milk & starts leaving the edges of the pan (see pic below).
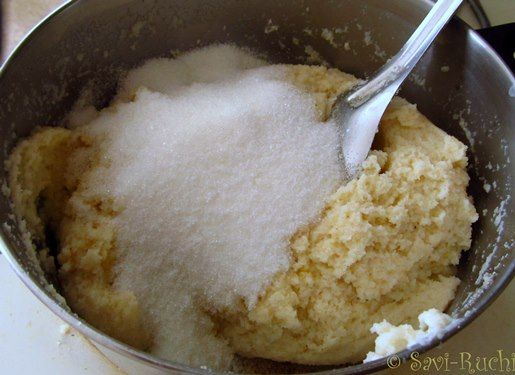
During this stage, pour in the sugar and the cardamom powder.

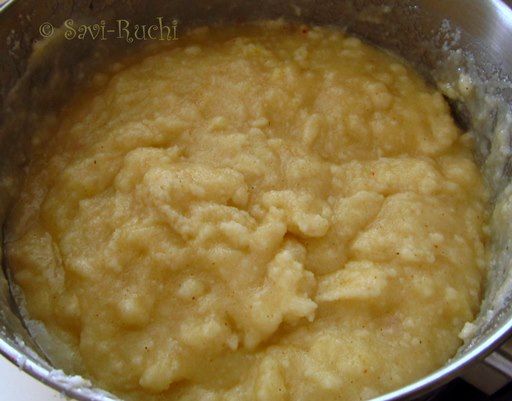
Mix well. The cooked rava will loosen up because of the sugar. Keep mixing. Ensure no lumps are formed while mixing.

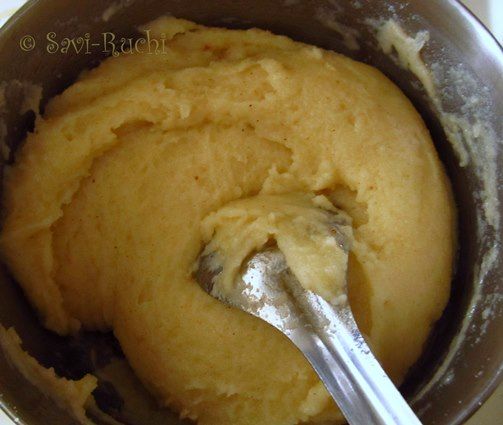
Add in the remaining ghee & continue mixing for a couple of more minutes. The mixture will thicken, ooze out ghee & starts leaving the edges of the pan.

Remove the pudding from the heat.
Fry the cashew nuts and raisins in ghee. Add the fried nuts to the cooked pudding.

Mix well & serve hot!


Notes:
  • If your family prefers sweeter sajjige, increase the sugar to 1 cup. I add one cup of sugar when I cook only for my family. When I have guests at home, I add 3/4 cup sugar as most people prefer it that way!
  • Any variety of milk could be used to make this pudding.
  • Do not be stingy in adding ghee. More the better!!

Thursday, December 6, 2012

Kaju Katli | Cashew Burfi

Making kaju katli at home is a long-pending dream come true for me! This is my son's favorite sweet. In fact, he prefers eating only this for breakfast, lunch and dinner :)

It melts in the mouth & you too would say "home-made tastes the best!". Btw, this is one of the great examples for " less is more". It just needs two ingredients, cashew nuts & sugar. Can it get more easier than this?! This dish doesn't take much of your effort. If I can make it, you all can make it too. Give it a try!

Forgive the grainy texture of the katli, that was because of my food processor!


Preparation Time: 5 mins
Cooking Time: 15 mins

Ingredients: (Makes around 16 squares)
  • Cashew nuts : 1 cup, leveled
  • Sugar: 1/2 cup
  • Water: 1/4 cup

Method:
Add the sugar & water to a wide & thick bottomed pan. Mix until sugar dissolves & heat it on a medium heat.
Do not disturb the sugar syrup.
Meantime, prepare a coarse powder of the cashews. (Refer notes)

The sugar syrup becomes bubbly. Check the consistency of the sugar syrup. It should be of one string consistency. (Refer notes)
Immediately turn the heat to low & pour the coarse cashew powder to the sugar syrup.

Turn off the heat & mix well. The mixture looks like a dough ball.

Scoop out the mixture onto a bowl & let it cool for 5 mins.
Grease the palm with very little ghee/clarified butter & knead the cashew mixture until smooth.
Roll the cashew mixture into 1/4th of an inch with a rolling pin.
Cut them into desired shape.
Kaju katli is ready to be served.

Notes:
  • One leveled cup of cashews yield to one heaped cup of coarse cashew powder. 
  • One string sugar syrup consistency: A thin string of upto 1 inch is formed when tested between thumb & forefinger. This step is the very important for making kaju katli. If you add cashew powder when sugar syrup becomes little more thick then the kaju katli becomes hard & brittle. If  cashew powder is added before reaching the one string consistency of the sugar syrup, then the mixture becomes very sticky & feels uncooked. 
  • If the mixture becomes little hard after cooling down, add a tsp or less of milk while kneading it. Remember, adding milk will reduce the shelf life of the burfi. 
  • Keep kneading until the mixture becomes smooth.

Monday, November 5, 2012

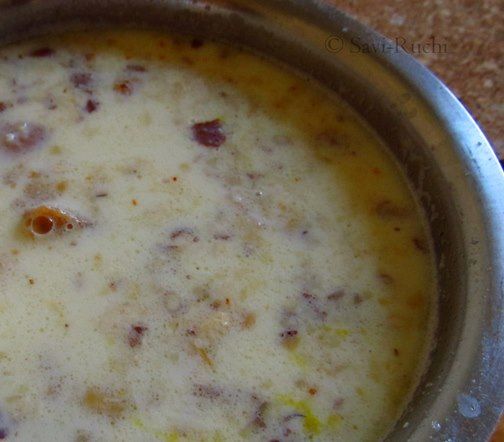
Appi Payasa | Fried cream of wheat kheer

I have some distinct memories associated with some dishes. From the time I can remember, I always fascinated cooking but never took the initiation to cook, until I had no other choice! During my teenage days, whenever I got a chance to attend the weddings, upanayanam or any family functions, I used to venture into the kitchen. I used to talk to the cook & get to know the recipe of a dish with a fancy name!! I have been doing this till date. The only difference is, now I try to write down the recipe.

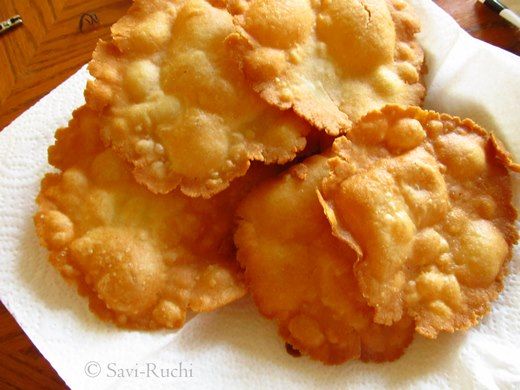
Appi payasa/payasam is one such dish learnt during a conversation with one of the cooks. Here is how "appi payasa" is made. A tight dough is made with cream of wheat. They are rolled & deep fried in ghee like pooris(Deep fried Indian bread). These pooris are crushed & added to the milk.

Though I don't have a sweet tooth, this is one of the kheer/payasam to which I can never say "no". Absolute delish!! It is also known as happala karda payasa (Thanks to blogger world!).


Preparation Time: 30 mins
Cooking Time: 15-20 mins

Ingredients: (Serves 4-6)
For the happala/flat poori:

  • Cream of wheat/Chiroti Rava/Fine rava: 1 cup
  • Cold water: Less than 1/4th cup
  • Ghee/Clarified butter: 2 tsp
  • Salt: a small pinch
  • Ghee/Oil: As needed, for deep frying the pooris


For the payasa/kheer:

  • Full cream milk: 1.5 litres
  • Sugar: Around 3/4th cup, adjust according to your family needs
  • Chopped dry fruits: 2 tbsp (I used almonds, cashews & pistachios)
  • Saffron: a big pinch


Method:
Mix the cream of wheat, salt & ghee together.
Slowly add the cold water & make a stiff dough. Cover the dough & let it rest for at least a couple of hours. More the better...
Once the dough is well rested, divide the dough into big grape sized balls. I got 7 dough balls.
Dust a very little flour & roll it thin using a rolling pin. (just like a poori). 
Heat the ghee/oil on a medium heat. When ghee is hot, deep fry the pooris on both the sides until golden brown. Remove it on a paper towel to remove the excess ghee from the fried pooris. Repeat with the remaining pooris. Let it cool.

Meantime, boil the milk on a med-high heat. Keep stirring in between. When the milk starts boiling, reduce the heat.
Add sugar & allow the sugar to dissolve. 
When the sugar is dissolved, crush the saffron in between your palm & add it to the milk. 
Crush or roughly tear the cooled pooris & slide them onto the boiling milk. Add the chopped nuts.

Turn off the heat & let the payasam cool completely.
Once cool, mash the crushed pooris gently. 

You could serve this payasam, warm or cold. 
I generally warm it again & serve as my family prefers it that way!


Notes:

  • It is very important to make a stiff dough to ensure crunchy pooris. Soft dough will absorb more ghee & become soggy.
  • The more you rest the dough, the more elastic it becomes. It will be easier to handle a well rested dough. (You can see little cracks on the edges of my poori. That is because I did not rest the dough! Do not do that)
  • Roll the pooris very thin. Thin pooris wont puff up & become soft. They will become crunchy!
  • If your poori is still puffing up, gently prick it in 4-5 places with a tooth pick before frying them.
  • This is unlike other kheer that demands milk quantity to be reduced by boiling. The crushed pooris will absorb the milk & the kheer/payasam thickens gradually. 

Featured Post

Noodles and Vegetables with Honey Ginger Sauce

Am I the only one who crave for noodles when sick with cold and sore throat? I love this noodles with honey-ginger sauce and it is perfe...