Wednesday, May 1, 2013

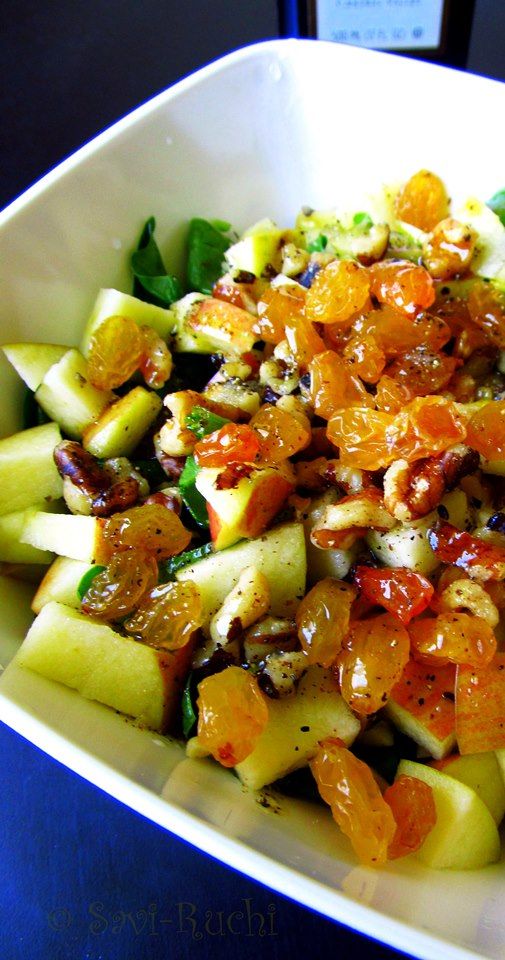
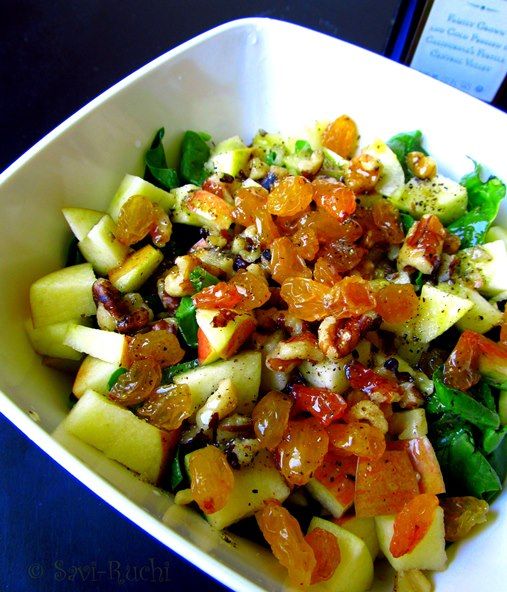
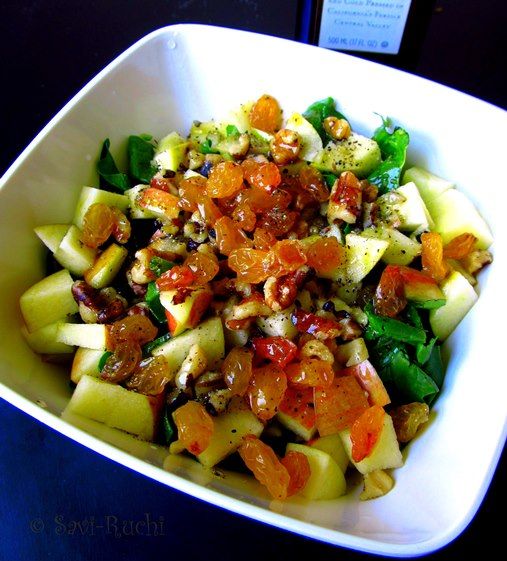
Spinach Apple Salad with Olive oil & lemon dressing

Though I love eating salads, my hubby's dislike took priority. So, I never made them at home. But, during my recent trip, I made sure to try a new salad whenever I could. After tasting the numerous salads, I totally fell in love with them again. I thought I could make it to myself during afternoons. I bought a big bag of lettuce & other greens to make salad often for my lunch. Here is my first attempt. I loved eating this simple salad that was ready in 5 mins!!!


Preparation Time: 5 mins
Cooking Time: Nil
Serves: 1

Ingredients:
Baby spinach: 2 fistful
Small Fuji apple: 1 no
Roasted walnuts: 2 tsp
Raisins: 2 tsp
Crushed pepper: a big pinch, for the garnish (optional)

For the dressing:
Extra Virgin Olive Oil (EVOO): 2 tsp
Lemon juice: 1 tsp
Salt: A big pinch


Method:
Mix in the EVOO, lemon juice & salt. Whisk & keep them refrigerated for 15 mins.
Wash the spinach leaves & throw the leaves in a bowl.
Dice the apple & throw them on the bed of spinach.
Add in the roasted & chopped walnuts, raisins.
Pour the dressing over the salad, toss & serve immediately.


Notes:
  • I tasted a similar salad in one of the restaurants. They added cranberries & blue cheese with vinaigrette dressing. If you wish you could add cranberries or other nuts to make this salad more crunchier!
  • Repeating again, toss in the dressing just before serving!
  • You could use any of your favorite dressing. It still would taste great.

Tuesday, April 16, 2013

Shenga Hindi | Spiced Peanut Powder | Dry Peanut Chutney : Easiest chutney pudi ever!!


I prepared 4-5 types of chutney powders for our long trip. We are currently having fun & I scheduled couple of posts before starting our trip. Will share more about our trip later.

Shenga hindi is a very versatile powder which could be consumed with almost anything. This chutney powder stays good for a long time. Like any other nuts, peanuts are also rich in protein & contains "good fat".


Ingredients:
Roasted peanuts : 2 cups, (refer notes)
Garlic cloves: 10-12 nos, (refer notes)
Red chili powder: 1 tbsp, adjust according to your needs
Salt: As needed
Sugar: 1/2 tbsp


Method:

Add all the ingredients mentioned above to a food processor & pulse till you get a coarse powder.
Can it get any easier than this?!


Notes:

  • I bought the unsalted roasted peanuts & used them. If you do not have the roasted peanuts, it is very easy to make them at home. Dry roast the peanuts till they turn golden brown.Once cool completely, rub the peanuts  between your palm to remove the skin. Discard the skin & roasted peanuts are ready!
  • I used 10 big garlic cloves. The garlic cloves available in USA are quite big compared to the ones available in India. If you have small cloves, I suggest using 20-25 pods. 

Monday, April 8, 2013

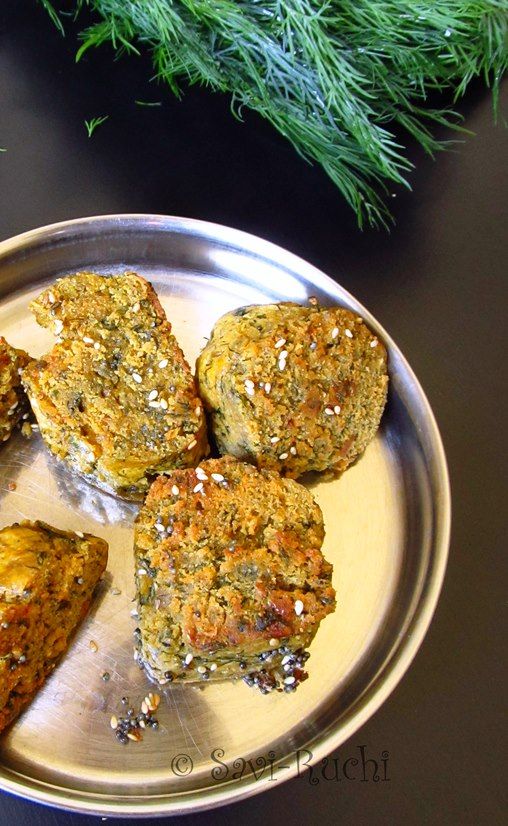
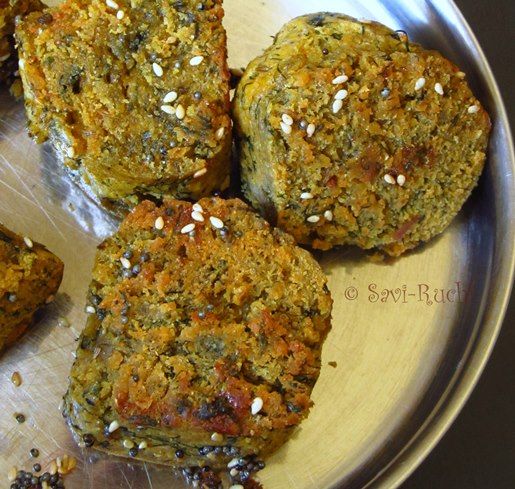
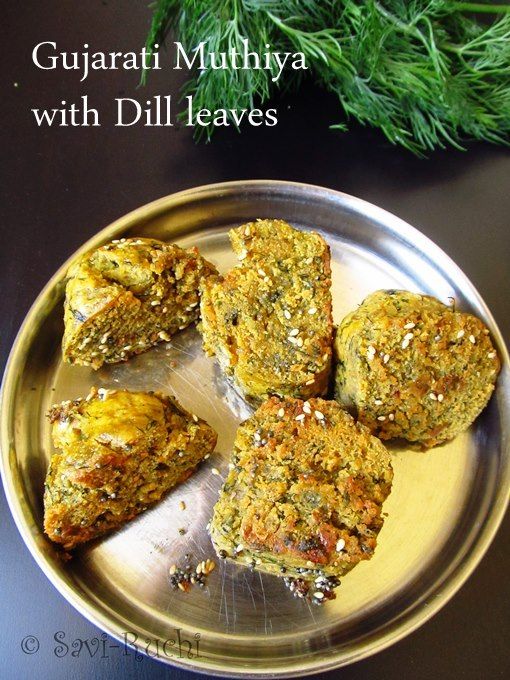
Muthiya | Muthia | Steamed whole wheat & greens dumpling : Gujarati Cuisine

Muthiya has all the goodness & nutrition needed. It has loads of greens, whole wheat, and jowar flour. To top it all, it is steamed & not deep fried. Any greens of your choice could be added. In case you do not have leafy vegetable, you could add grated carrots/ grated bottle gourd/ grated cabbage. I tried hard for good pictures, but could't do justice for the dish with the pictures :( 


Preparation Time: 10 mins
Cooking Time: 30 mins
Serves: 2-3


Ingredients:
For the muthiya:
Wheat flour: 1.25 cups
Jowar flour/Sorghum flour: 1/2 cup
Besan/Gram flour: 1/4 cup
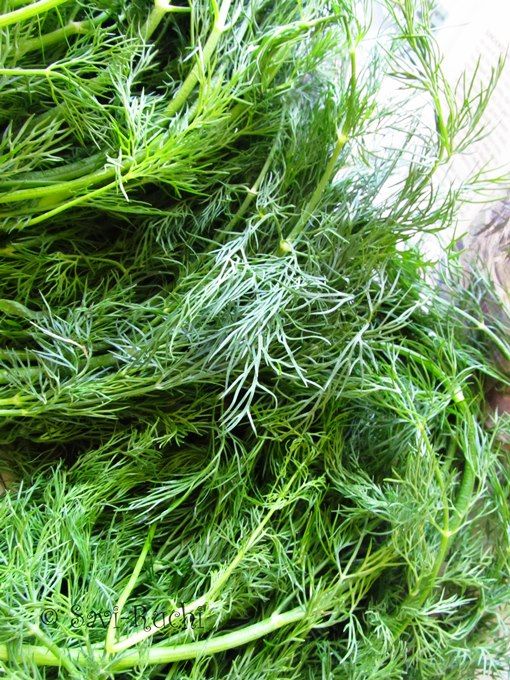
Chopped dill leaves: 1.5 cups, loosely packed
Chili powder: 1/2 tsp
Turmeric powder: 1/2 tsp
Green chili paste: 1 tsp
Yogurt: 1/4 cup
Oil: 3 tbsp
Sugar: 1 tsp
Baking soda: 1/2 tsp
Salt: As needed
Water: As needed, to make the dough

For the seasoning:
Oil: 1-2 tbsp
Mustard seeds: 1 tsp
Sesame seeds: 1 tbsp


Method:
Mix all the ingredients mentioned for the muthiya (except water) in a large bowl. 

Add sufficient water & make a dough out of it. (The dough should be cutlet or patty consistency).
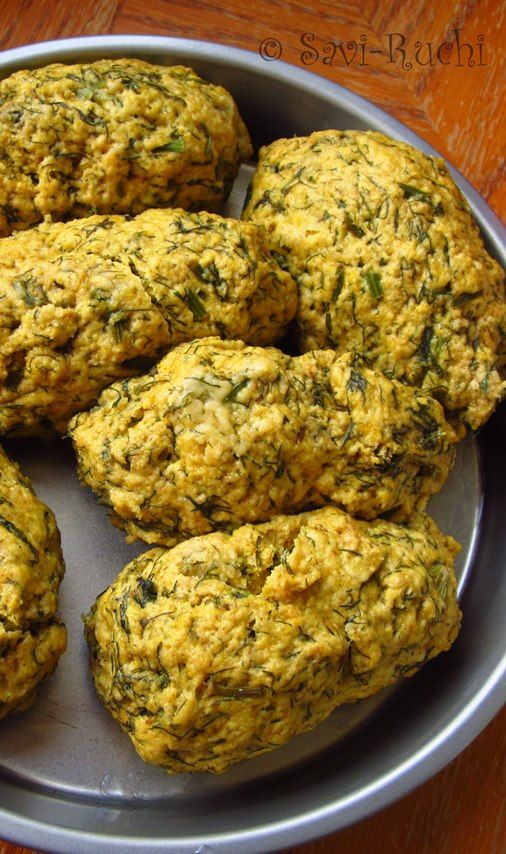
Make dumplings out of it & steam it for 15-20 mins on medium-high heat. 
Turn off the heat & let the steamed dumpling cool completely. Observe: the steamed dumplings have expanded in size 

(I'm stressing again, cool completely.., else it will crumble while cutting them!)
Cut the steamed dumpling into 1 inch bites.
Prepare the tempering/seasoning. Heat oil in a broad pan. When oil is hot, add in the mustard seeds. When mustard seeds crackle, throw in the sesame seeds & let it turn golden brown (Take care not to burn the seeds!)Add in the cut dumplings & mix it gently. Cook it till it is slightly brown & crisp.
Serve it with a dip/chutney/sauce of your choice.


Notes:
The ratio of greens to flour is 1.5: 2. You could play around with any other flour of your choice. I sometimes add corn meal too.
You could add a fistful of left over rice to make the muthia's soft.

Wednesday, April 3, 2013

Tomato Thokku | Tomato Chutney

When I am in no mood to cook elaborate meals, I make some thokku or gojju which stays good for couple of days. They are very versatile & tastes great as a side dish with many things. They kick up your taste buds too.My son loves mixing the tomato thokku with plain rice, my hubby eats it with chapathi or paratha (Indian breads). I use it as a side dish for idli, dosa, or akki rotti :)


Preparation Time: 10 mins
Cooking Time: 30 mins


Ingredients:
Tomatoes : 7 nos, medium sized
Oil: 1 tbsp
Mustard seeds: 1 tsp
Curry leaves: 6-8 nos, torn
Fenugreek seeds: a pinch
Turmeric powder: a big pinch
Chili powder: 1 tsp
Jaggery: 1/2 tbsp
Taramind concentrate: 1tsp
Salt: As needed


Method:
Finely chop the tomatoes & keep them aside.

Heat oil in a broad pan. When oil is hot, throw in the mustard seeds.

When mustard seeds splutter, add in the torn curry leaves & fenugreek seeds.

When fenugreek seeds turn golden brown, add in the tomatoes & mix well.

Throw in the red chili powder, tamarind concentrate, salt, & jaggery.

Mix well & cook the tomatoes on a medium heat for another 20-30 mins, until the tomatoes are soft & mushy.
Turn off the heat & serve it warm or at room temperature.

Notes:
I kept the thokku little watery instead of making it very thick, since my family prefers it that way!
You could cook for some more time to get a very thick gojju/thokku.

Sunday, March 31, 2013

Easiest khichdi | Dheeli Khichdi | Rice and Lentils Porridge


Neither winter, nor the flu season is ending here :( It has been snowing & will continue to snow until at least till the end of this month. Because of the fluctuations in the weather, all of us are down with infections. My son has been throwing up continuously from the last 2-3 days. He is not able to take any complex food, not even vegetables, fruits or milk. I kept on giving him rice & yogurt with a pinch of salt all the time & he got bored of it, until my friend suggested me this dheeli khichdi. He loved it so much that I have made this dish back to back for him. Me & my hubby also loved eating it.


Preparation Time: Nil
Cooking Time : 15 mins
Serves: 2 people

Ingredients:
Rice : 3/4th cup (I have used sona masoori rice)
Skinned moong dal | Hesru bele: 3/4 cup
Oil: 1 tsp
Cumin seeds: 1/2 tsp
Asafoetida: a pinch
Cloves: 3-4 nos
Turmeric powder: a pinch
Salt: As needed
Water: 6 cups

Method:
Wash the rice & dal thoroughly. Let the rice + dal soak in water for 15 mins

Heat the oil in a pressure cooker. When oil is hot, add in the cumin seeds & cloves.

When they turn fragrant, add in the asafoetida, turmeric powder, & water.

Adjust the salt & let the water boil.
Drain the water from the rice + dal.
When water starts boiling, throw in the rice + dal & cook it on med-high heat for 3-4 whistles.
Turn off the heat & allow the pressure to be released.
Remove the pressure cooker lid, add a tbsp of ghee & minx in the cooked khichdi thoroughly.

Enjoy hot.


Notes:
The water to rice + dal mixture needs to be 4: 1

Tuesday, March 26, 2013

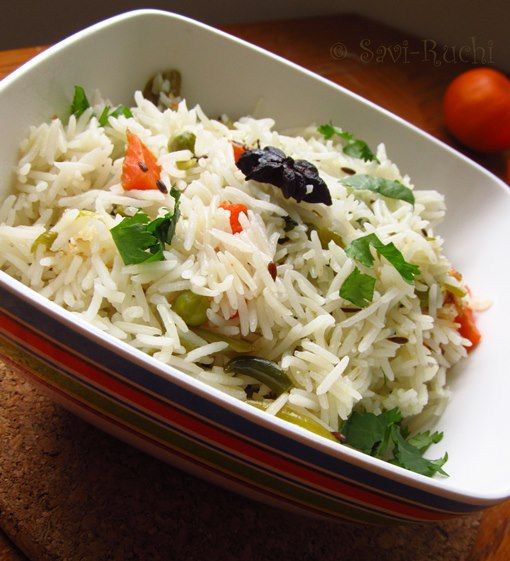
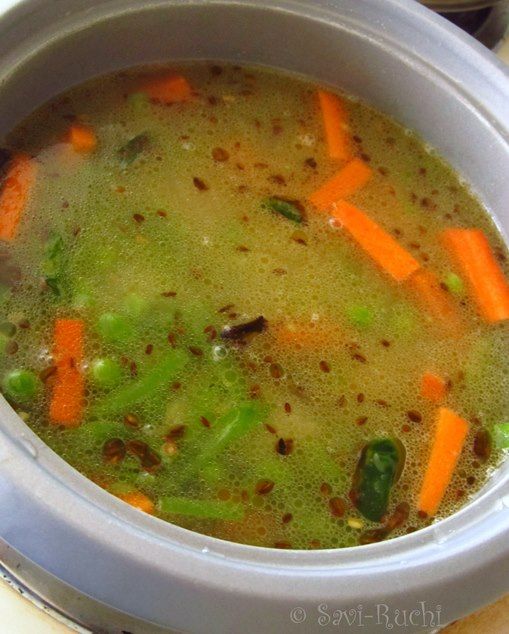
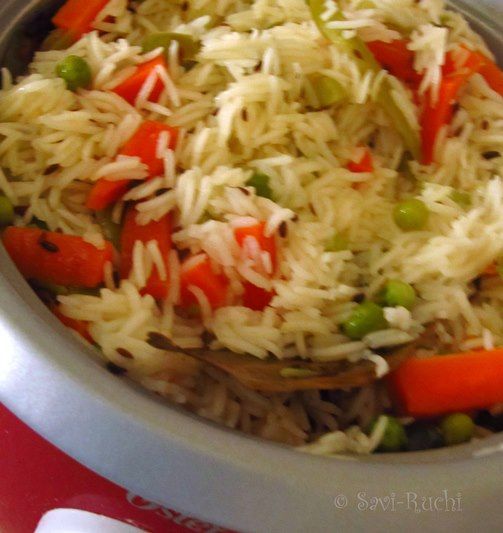
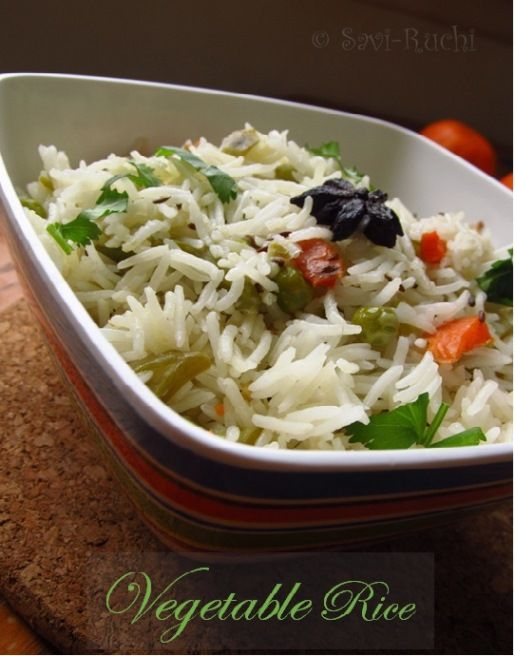
Simple Vegetable Rice with no garlic or onion!

When I posted the pic of vegetable rice in FB, I got a good response from people. Also, they wanted me to share the recipe soon. Although, I have almost finished another post, I am holding it for the moment & going ahead with this vegetable rice recipe. This is a very simple pulao recipe & not a mixed rice (also known as bhath or kalasida anna). Let me bring out the difference between the bhath (mixed rice) & pulao

Mixed rice | Bhath is prepared the below mentioned ways. First the white rice is cooked & spread to cool. Meantime, the spiced up curry/gravy/palya/gojju is made. A tempering is done. The spiced curry/gojju, some salt, and tempering is added to the rice. It is mixed gently but thoroughly to ensure the spice paste is well coated on the rice.  Finally garnished with some cilantro (optional) or grated coconut and served! My blog does have many mixed rice recipes. To name a few...

Cluster beans rice
Coriander rice
Curry leaves rice
Coconut-mustard rice

For the pulao, a tempering is done, followed by the spices, veggies, rice, water, and seasoning. Then it is covered & cooked either in a pressure cooker/rice cooker or on stove top, until the rice is fluffy. Some pulao recipes are...

Rice and black eyed peas pulao
Dill leaves pulao
Beetroot rice
Coconut pulao

Now, coming to today's vegetable rice recipe! My mom is off to garlic (I might have told this a zillion times) & you all must have guessed why I try recipes with no garlic & onion :p A very simple, one pot dish that can be whipped up fast.


Preparation Time: 10 mins
Cooking Time: 30 mins
Serves: 4-5


Ingredients:
Basmati Rice: 2 cups
Chopped vegetables: 1.5 cups (I have used carrots, beans and green peas)
Water: 3 cups
Coconut milk: 1/4th cup
Salt: As needed

For the tempering:
Oil: 1 tbsp
Cumin seeds: 1 tsp
Bay leaf : 1 no
Cinnamon: 1 inch stich
Green cardamom: 2 nos
Star anise : 1 no
Cloves: 2-3
Green chilies: 3-4 nos, slit

For the garnish:
Coriander leaves: 2 tbsp, chopped


Method:
Wash the rice thoroughly.Soak the rice for 15-20 mins.
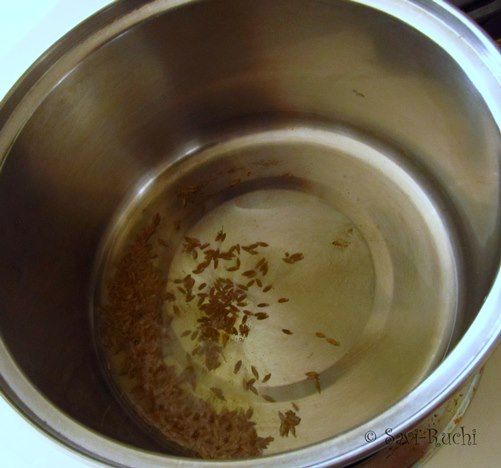
Meantime, heat oil. When the oil is hot, throw in the cumin seeds. 

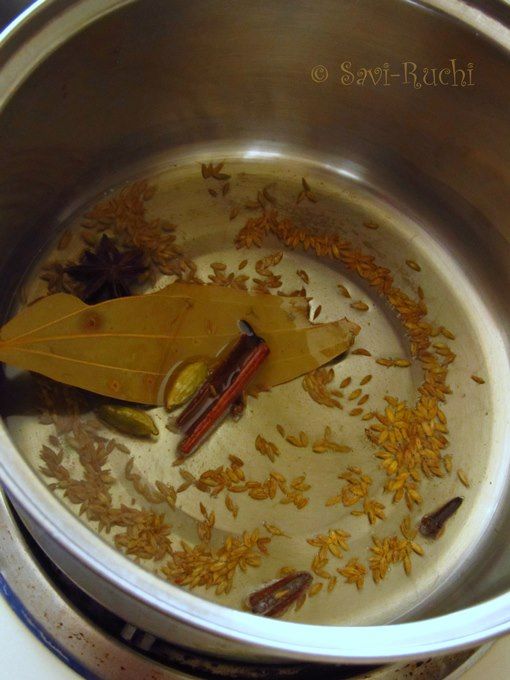
When cumin seeds turn aromatic & brown, throw in the dry spices (bay leaf, cinnamon, cardamom, cloves, and star anise). 

After the spices are sauteed, add in the green chilies.

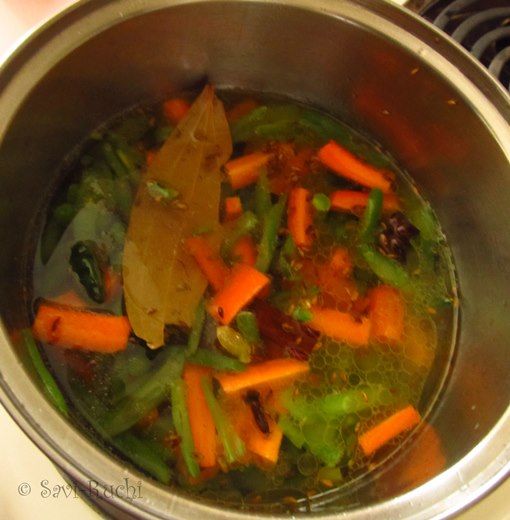
Follow it with the vegetables & saute the vegetables until the oil is well coated on the veggies. 
In between, drain the water completely from the soaked rice.
Add in the water to the vegetables & let the water boil. 

When water starts boiling, add in the coconut milk, salt & soaked rice.

(After this step, I transferred the contents to the rice cooker & cooked it in the electric rice cooker. This step is completely optional. Refer notes to know why I do it!)
Cook it covered on a med heat until the rice is almost cooked. Do not keep mixing. The rice grains will break & the end product will become mushy.

When the rice is almost cooked, gently mix once & reduce the heat to low until the rice is cooked to perfection. (for about 5-7 minutes). 
Turn off the heat. Add in the coriander leaves. Keep it undisturbed for another 10 mins & then fluff the rice gently. 
Serve it with a side dish of your choice.


Notes:

  • This vegetable rice is not spicy & dry like the jeera rice or peas pulao. It needs some spicy side dish like vegetable saagu | dal makhani | palak paneer. Raita might not go well with this rice.
  • It is very important for the rice to get cooked undisturbed. If you keep mixing, the rice will become mushy. You don't want that, right?
  • I transfer the contents to the electric rice cooker because I will be sure that the rice will not stick to the bottom & burn.
  • Feel free to use a pressure cooker. If you are using a pressure cooker, then cook on medium-high heat for one whistle only. Then remove from heat & wait till the pressure is released. Remove the lid & gently fluff the rice.

Tuesday, March 19, 2013

Kidney bean patty burger | Vegetarian Burger | Bean burger | Spicy burger

I'm introducing burgers to my son. Though he is staying in the States from the last one year, he is totally off to American food. He prefers Indian anytime. Although it is good for his health, it becomes extremely difficult when we travel. To make him get used to the burgers, I keep making burgers often.

Instead of the regular potato patty, I try with different patties each time. This time it was a kidney bean burger. Kidney bean is a great protein source. Although you could use canned beans, I prefer to use dried beans for obvious reasons.


Preparation Time: 20 mins
Cooking Time: Around 10 mins
Makes around 7-8 burgers


Ingredients:

For the patty:
Kidney beans : 1 cup, raw or 3 cups of cooked beans
Finely chopped bell pepper: 2 tbsp
Onion: 1 med sized, finely chopped
Finely chopped coriander leaves: 2 tbsp
Bread crumbs: from 2 slices of bread (about 1/4th cup)
Carom seeds | Om kalu: 1/2 tsp
Red chili powder: 1 tsp
Lemon juice: 2 tsp
All purpose flour/Maida: 2 tbsp, optional
Salt: As needed
Oil: About a teaspoon for each patty

For assembling the burger:
Burger buns: 7-8
Slices of tomato: 2 on each burger
A slice of cheese on each buger
Lettuce or baby spinach
Any dressing of your choice (refer notes below)

Method:
Soak the kidney beans overnight. Drain the water.  Add the kidney beans + water + 1/2 tsp of salt to the pressure cooker and cook it for about 4-5 whistles.Let the cooker cool down.
Once the pressure is released from the cooker, remove the lid & drain the water from the beans. You get approximately 3 cups of cooked beans.
Mash the beans gently. To the mashed beans, add in the ingredients mentioned for the patty (except oil & AP flour).
If the mixture is gooey & sticking to the hands, add in a tablespoon of flour at a time to adjust the consistency.


Heat a griddle. Make the patties & shallow fry the patties on both sides on a medium heat.


Remove the patties from the griddle & immediately arrange the burger.


Cut the burger bun in half. Add a layer of  greens first (I have used baby spinach here).
Follow the greens with the cheese slice (I did not have the slices, hence used grated mozzarella. What matters is the cheese & not the form, isn't it ;)  )
Place in the patty. Add a tablespoon of dressing.
Finally a slice of tomato, and cover with another slice of the burger bun.
Press in the burger & serve immediately.


Notes:

  • The above mentioned ingredients are a just a guideline. You could vary accordingly & it will be delicious anyways :)
  • Any dressing of your choice could be used. I prefer mustard while my family loves mayo. 
  • For the above burger, I have mixed equal quantities of mayo + tomato ketchup as dressing!

Featured Post

Noodles and Vegetables with Honey Ginger Sauce

Am I the only one who crave for noodles when sick with cold and sore throat? I love this noodles with honey-ginger sauce and it is perfe...