Saturday, April 9, 2011

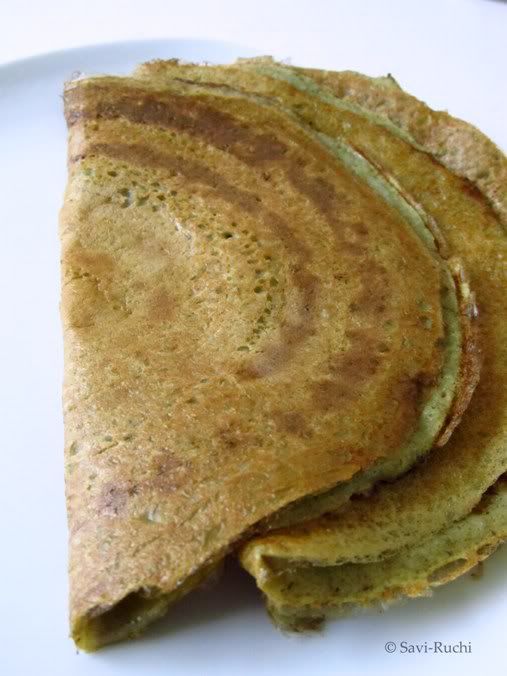
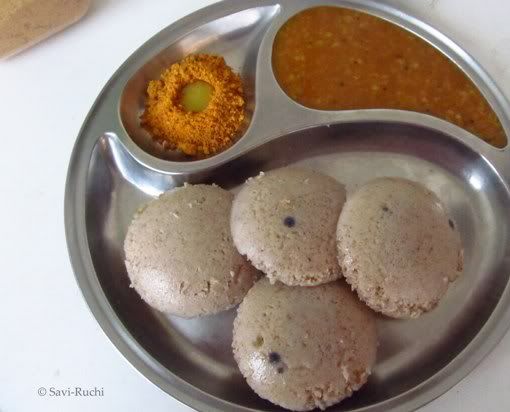
Pesarattu/Green gram crepes

Its been very very busy time for me, from the past couple of weeks. No time to sit at one place. I am moving all around the place to finish up all the work. At the same time, I am clearing my pantry too.

BTW, do not forget about the current event going on at my blog. Kindly send in as many entries as possible. Thanks :)
Now that I am super excited in hosting my first event, that I am visiting Prathibha's space everyday to try something. Pesarattu is one such recipe I tried from the blog. She has blogged about upma pesarattu. Since I was making them for the first time, I wasn't sure if my family would take upma & pesarattu together. Hence, I skipped making upma. Will include it next time. I followed the recipe blindly & it was a super hit at my home.


Original recipe could be found here.

Ingredients:
For dosa batter:
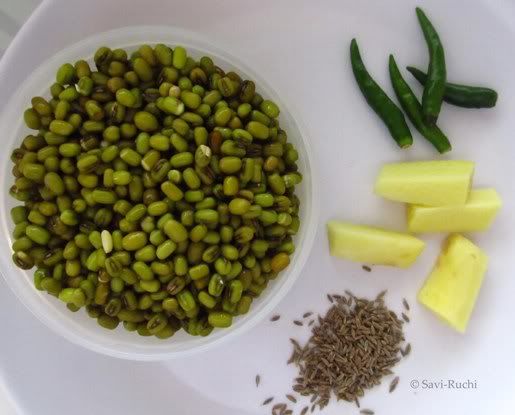
Green gram/Hara moong: 2 cups
Raw rice: a fistful
Ginger: 1 inch piece
Green chillies: 4 nos (original recipe asked for 2)
Cumin seeds: 1.5 tsp (this is the only addition I did!)

Other ingredients:
Oil : 1/2 to1 tsp for each pesarattu.

Method:
  • Wash the green gram & rice. Soak the green gram & rice together for 4-6 hours or over night.
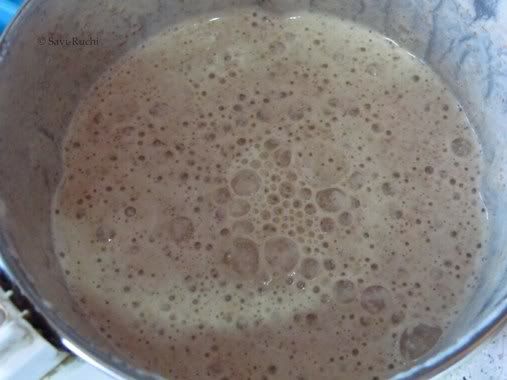
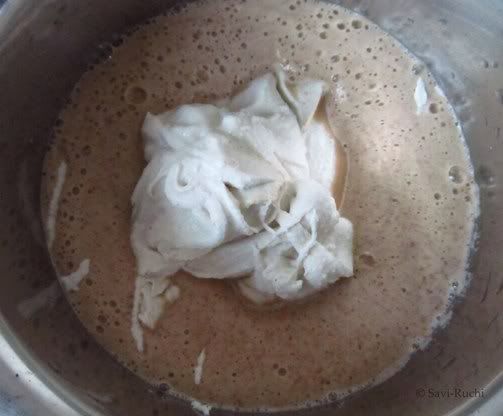
  • Drain the water from the gram & rice. Add the ginger, green chillies, cumin seeds & make a fine paste of the green gram & rice using a Indian mixie/blender or wet grinder.  
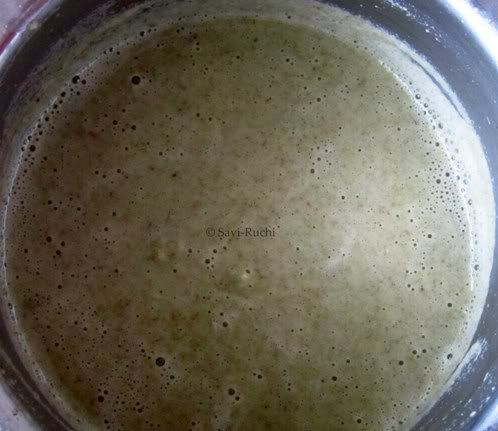
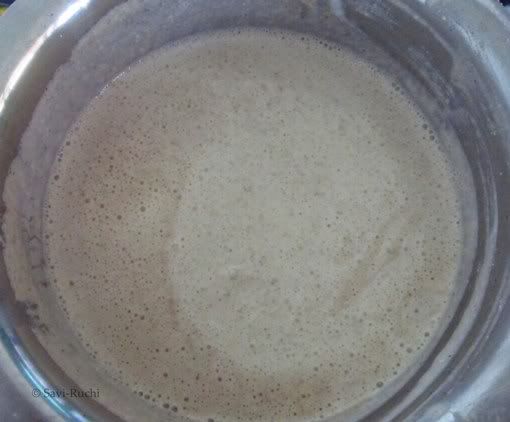
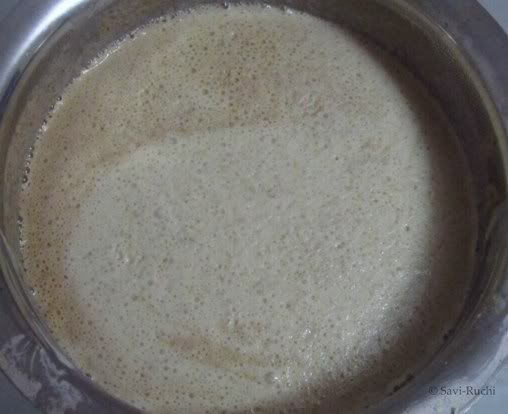
  • Scoop out the paste & adjust the consistency of the batter. The batter should be like a thick milkshake (just like the normal dosa batter).
  • Add salt & mix well.
  • Heat a griddle/tava. When griddle is hot, pour a ladle full of batter to the center of the tava & spread it like normal dosa. I make the pesarattu very thin.
  • Pour around 1/2 to 1 tsp of oil over the pesarattu & cover the pesarattu with a lid. Let it cook on a medium-high heat for a minute.
  • Remove the lid & increase the heat to high & cook for another 30-45secs.
  • Remove the pesarattu from the griddle. No need to flip the pesarattu & cook it on another side.
  • Reduce the flame & pour few drops of water to decrease the tempeature of the griddle. If the griddle is very hot, the batter sticks to the griddle.
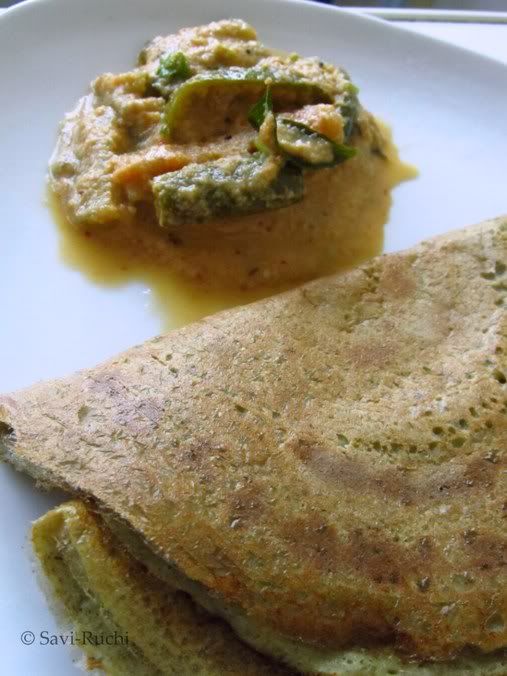
  • Repeat the procedure with the remaining batter. Serve it hot with a chutney/dip of your choice.
Notes:
  • Pesarattu is cooked on one side only. 
  • In case you have soaked the green gram for some other purpose & want to use it for making pesarattu, dont worry that you have not soaked rice. Just grind the green gram & add a fistful of rice flour. Proceed as usual.
  • Prathibha has clearly explained about how to roast the pesarattu. Have a look at it. 

Wednesday, April 6, 2011

Announcing my first event - "Tried & Tested" event!

Here is the announcement of a blog event "Tried & Tested", for the month of April-11. This is the first ever event on this space. When I got the confirmation from Lakshmi, I was overwhelmed & super excited...

I have chosen Prathibha's " the chef and her kitchen" blog as the blog of the month.I have bookmarked a lot of recipes from her blog & want to try them. I am sure most of you must have done it too! She has a well maintained blog with many fans following her. Her blog soothes your eyes with pictures of good food. I love her dosa varieties & Andhra recipes. I am sure you will enjoy cooking the delicacies from her blog. Then what are you waiting for. Visit her blog, cook, click & send in your entries!


Here are some simple rules:
  • Cook any recipe(s) from Prathibha's blog and post about it. Stay as true to the original recipe(s) as possible. Therefore, there is no need for re-posting it, simply link to the original post. Multiple entries are welcome!
  • There is no time-frame for the original recipe. It can be as old as your grand-mother or as fresh as a mung bean sprout.
  • Have you cooked from Blog of the month before? As this event is all about tasting and reflecting on the taste, older posts are also welcome. Kindly repost it & give a link to this post. Don't forget to mention about the T&T event.
  • Link your post to this announcement and to Lakshmi's blog . Please always link to both sites, so both blogs are given credit and you are avoiding copyright fuss. Kindly use the logo. Thanks :)
  • Send me an e-mail to sushma.saviruchi@gmail.com with the following details:
        • Your name:
        • Name of the blog:
        • Recipe tried:
        • Your post URL as well as the original URL:
        • A picture (300px by height, please):
  • Deadline is 6th May 2011 and the round up will be posted within 15 days. 
  • Non-bloggers are more than welcome to participate.Simply e-mail me with your experience of what you cooked and please include a picture.

Sunday, April 3, 2011

Eggless savory pancakes/Instant vegetable uttappam


I am clearing my pantry from the last couple of weeks. Even after not buying any grocery for almost a month, I am able to manage run the kitchen for another month!

I had a huge packet of self raising flour lying in my store room & hence came up with this recipe. I added instant oats too, to make it a healthier one.


Ingredients: (Makes about 20 pancakes)
Self raising flour: 2.5 cups
Instant oats: 1.5 cups
Buttermilk: 2 cups
Finely chopped or minced vegetables: Around 2.5 cups, I did not measure this. (I added carrots, beet roots, cabbage, onion, cucumber,  potato, capsicum)
Green chilli paste: 1/2 tsp, optional
Coriander leaves: 1 tbsp, finely chopped
Salt: to taste
Water: 1-2 cups more.

Other ingredients:
Oil: few drops for each pancake


Method:
  • Take a broad vessel. Add all the above ingredients mentioned & prepare a smooth batter out of it (Similar to the dosa/pancake batter). Ensure there are no lumps. 
  • Keep the batter aside for 5 mins.
  • Meantime heat a griddle/tava/tawa. When the griddle is hot, pour around 1.5 tbsp of batter in the center of the griddle & spread it gently. 
  • Add few drops of oil & cover the griddle. Cook both sides of the pancake on a medium high heat until golden brown. 
  • Remove the pancake & repeat the procedure with the remaining batter. 
  • Enjoy it hot with a spicy dip of your choice.  

Notes:
  • If you do not have self raising flour, then use All-Purpose flour/maida. Add 1/4 tsp of baking soda to the batter to make the pancakes light & fluffy.
  • You could add any vegetables of your choice. I added variety of vegetables I have in my refrigerator. 

Thursday, March 24, 2011

Breakfast ideas: Cereals with nuts & fruits

This breakfast idea is for my friends who ask me what I prepare in the mornings. My weekday mornings are usually hectic as I need to prepare for my hubby's lunch and my son's snack boxes. So, we normally have simple breakfast.

This is one such breakfast filled with nuts & fruits! This dish doesn't involve any cooking !!

Method:

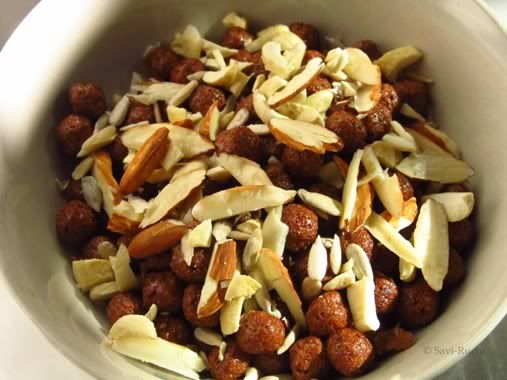
  • I take around 1/2 cup of cereals(I normally use chock 'n' roll cereal, Fairprice brand, because my son loves them). 
  • Coarsely chop the nuts I have (like walnuts, almonds, cashews & raisins). I take around 3/4th tbsp of chopped nuts. 
  • Add it to the cereals. I also add around a tsp of sunflower or pumpkin seeds.
  • I stop here for my hubby & he eats the cereals with nuts.


  • For me, I add 3 tbsp of finely chopped banana or apple or papaya to the cereals & nuts. 
  • I finally pour little cold milk over it & dig in!
Try it and let me know whether you liked the taste !!


Monday, March 21, 2011

Pomegranate leaves in yogurt sauce/Dalimebe yele tambuli

I am back with a tambuli recipe. A very unique & mild flavored tambuli that cools your body.

Preparation + cooking time: Less than 5 minutes
Serves: 2 

Ingredients:
Tender pomegranate leaves/Dalimbe chiguru: 3 tbsp, washed & roughly chopped
Grated coconut: 1.5 tbsp
Cumin seeds: 1/2 tsp
Green chilies: 2-3 nos, adjust accordingly
Salt: to taste
Oil: 1 tsp
Buttermilk: 1.5 cups(Around 350ml)


Method:
  • Heat oil in a small pan. When oil is hot, add cumin seeds. When cumin seeds turn golden brown, add green chilies & pomegranate leaves & saute till the leaves turn crisp. Turn off the heat.
  • Add the grated coconut & allow the mixture to cool.
  • Grind it to a very smooth paste by adding buttermilk. 
  • Scoop out the mixture. Add the remaining buttermilk, salt & mix well. 
  • Serve chilled or at room temperature.


Notes:

  • If you need, you could prepare the tempering & pour over the tambuli. I normally do not add tempering. 

Wednesday, March 16, 2011

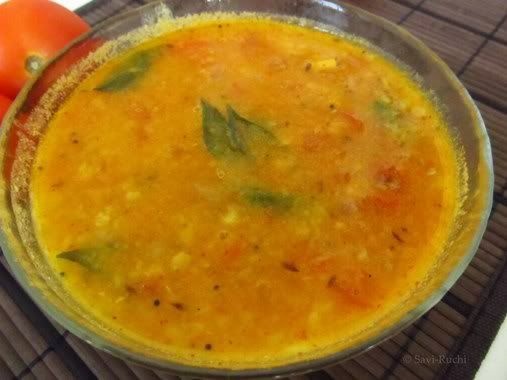
Tomato pappu/Tomato dal

Here is an Andhra dal/pappu recipe. I tried this from amma cheppindi blog. Made very few changes to the original one. The highlight of this pappu/dal is the addition of rasam powder to the dal!!
Here goes my version of the same.

Ingredients: (Serves 3-4)
Toor dal/thogari bele/split pigeon peas: 1 cup
Turmeric: 1/2 tsp
Asafoetida: a pinch
Red chili powder: 1/2 tsp
Rasam powder: 1/2 tsp (Original recipe called for MTR rasam powder, I used home made)
Salt: According to taste
Water: As needed
Coriander leaves: 1 tbsp, finely chopped (for garnish)

For tempering:
Oil: 1 tbsp
Mustard seeds: 1/2 tsp
Cumin seeds: 1/2 tsp
Garlic: 2 pods, minced
Curry leaves: a string or 6-8 nos
Red chili: 2 nos, broken
Tomatoes: 2 nos, medium sized

Method:

  • Wash the toor dal thoroughly & add water, turmeric & asafoetida to it. Cook the toor dal in a pressure cooker for 3-4 whistles. Allow it to cool.
  • Meantime, heat oil in a broad pan. Add mustard & cumin seeds. When seeds splutter, add curry leaves, red chili & garlic. Saute till the garlic turns golden brown.
  • Add the tomatoes. Mix in the rasam powder, red chili powder & cook the tomatoes till they are soft.
  • Mash the dal/lentils gently with the back of a spatula or a masher. 
  • Add the mashed lentil to the tomatoes. 
  • Add the salt & 1/2 cup of water (adjust accordingly). 
  • Allow the dal to boil. Once the dal starts boiling, turn off the heat. 
  • Garnish it with coriander leaves & serve them hot with rice.

Notes:
  • The highlight of this dal is the usage of rasam powder. Hence, do not try to skip it.
  • For a tangier dal, add 1-2 tsp of lemon juice at the end.

Friday, March 11, 2011

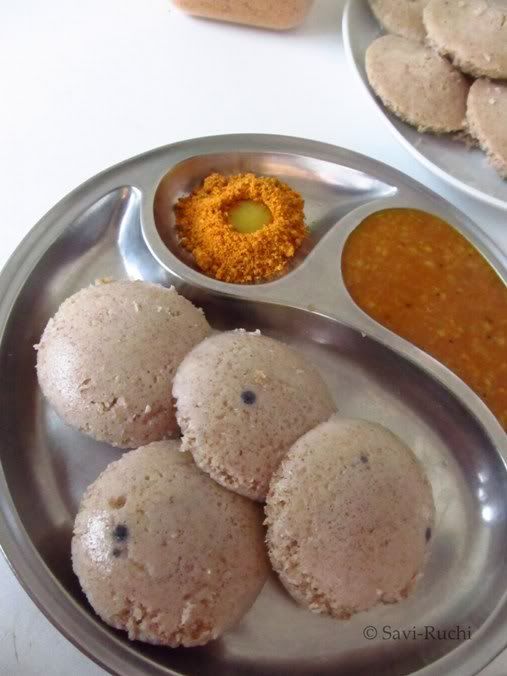
Horsegram idli / Huruli idli: Beginner Series

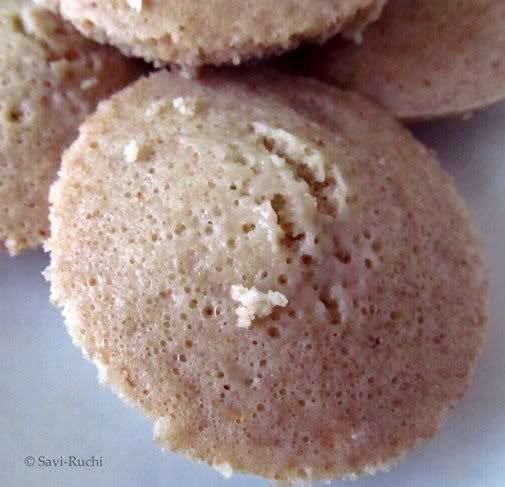
One more wonderful recipe from my aunt's treasure. Each time I visit her or talk to her, I enlighten myself with more & more interesting dishes. The standard idli recipe uses urad dal/deseeded black lentils, however the horse gram idli uses huruli kaalu/horse gram in place of urad dal. The idlis turn unusually soft & fluffy. The color of the idli is light brown(unlike the normal idlis) because of the horse gram.

Language translations for horse gram
Kannada: Huruli kaalu
Tamil: Kollu
Marathi/Konkani: kulith
Malayalam: muthira
Telugu: ulavalu

(PS: Idli is served with chutney powder, ghee & sambar. The black marks on the idli is because of the horse gram. Ignore them, they do not harm the taste.)


Cooking time : 20mins
Soaking time: 4-6 hours
Fermenting time: 8-12 hours

Ingredients: (Makes around 30 idlis)
Horse gram: 1 cup
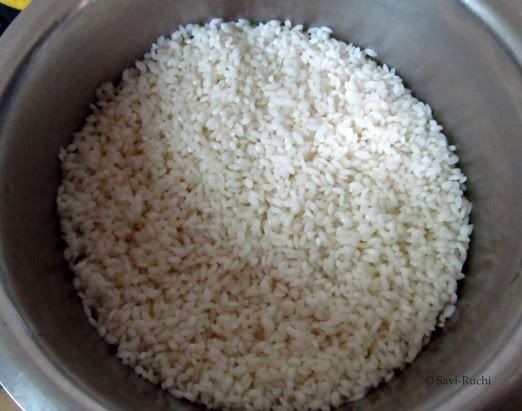
Idly/idli rice: 3 cups*
Salt: 1/2 tsp
Other ingredients:
a drop of oil on each idli mould, optional
Special utensils:
Idli plates with stand

* If you are using wet grinder, use 4 cups of idly rice for 1 cup of horse gram. 


Method:
  • Wash the horse gram thoroughly & let them soak for 3-4 hours.
  • Wash the rice & let it soak for 5-6 hours.
  • Drain the water from the soaked horse gram & add them to the food processor jar. 
  • Add 2-3 tbsp of ice cold water to the horse gram & pulse for few seconds. Add few tablespoons of ice cold water to the very coarsely done lentils & pulse again. Repeat the whole process of adding ice cold water & pulsing for at-least 5-6 times. 
  • The horse gram paste must be very smooth, light & frothy. Scoop the horse gram batter to a large vessel.
  • Drain the water from the soaked rice & make a smooth paste out of it. Do not add more water while making the rice paste. 
  • Add the rice paste to the horse gram paste.
  • Mix them well. 
  • Allow it to ferment for 8-12 hours, depending on the outside temperature. After proper fermentation, the batter would have raised.
  • Grease the idli plates. Add salt to the batter & mix it. 
  • Pour a tablespoon or a little more of batter to each mould. 
  • Place it in the steamer & steam the idlis for 15-20mins.
  • To check if idli is done, insert a tooth-pick, if it comes clean, idlis are properly cooked. 
  • Remove the idli stand from steamer & allow it to cool for 2-3mins. Carefully remove the idli using a spoon or knife.
  • Serve it hot with a chutney, sambar of your choice.

Notes:
  • This recipe is very similar to the normal idli. Replace urad dal with horse gram & you could make healthy idlis.
  • If you need more tips on making idli, refer my earlier post on Idlis.

Featured Post

Noodles and Vegetables with Honey Ginger Sauce

Am I the only one who crave for noodles when sick with cold and sore throat? I love this noodles with honey-ginger sauce and it is perfe...